Backyard Recon with the RangeIR
What Is Lurking In Your Backyard? A demonstration using the RangeIR to find out - by Roy Dunn
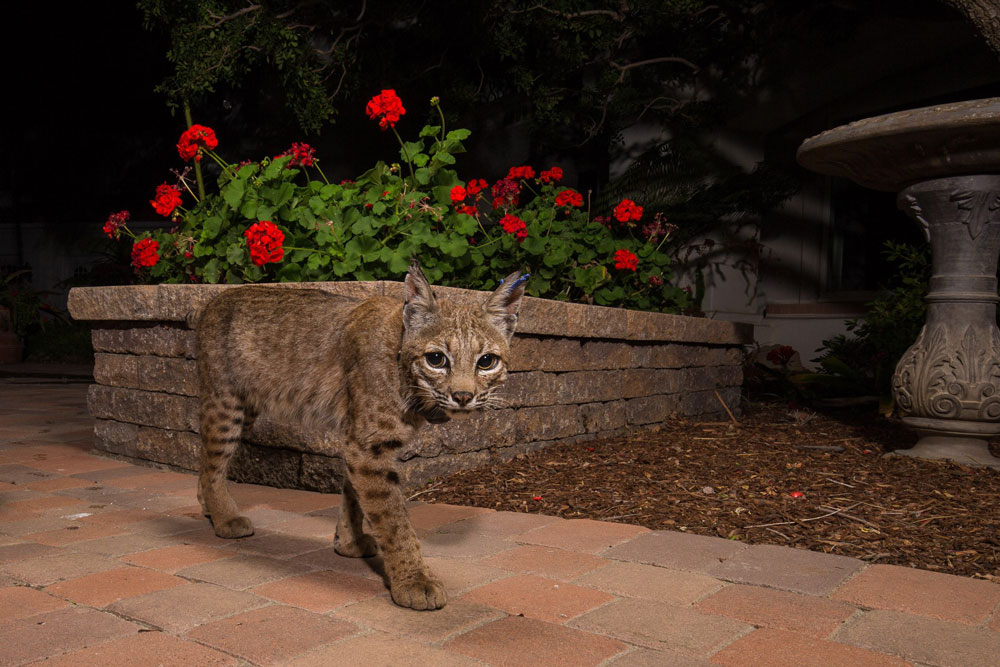
This is a wild bobcat, photographed using Cognisys RangeIRs in conjunction with a StopShot. Further technical details below. You will notice the bobcat is collared and tagged - I live in Westlake Village, California where there has been a 20 or more year study on the population of bobcats by the National Park Service. About 4 out of 5 bobcats that I see on my property are tagged and/or collared. More details of that research can be found here, or here.
In order to create an image like this, much patience and preparation is necessary.
Reconnaissance:
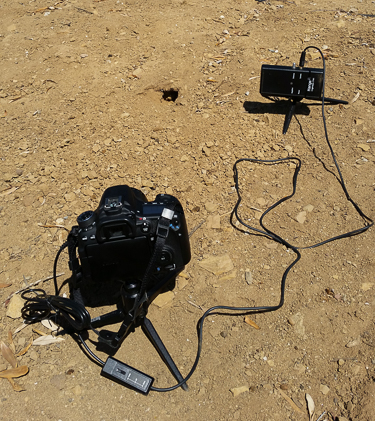
First, it is wise to set up a reconnaissance system, which can be as simple as a single RangeIR and a camera with an integrated flash. This setup can tell you what animals might be around such that you can then create a much more elaborate 'studio' around the thoroughfare you are checking.
If you have a camera with an integral flash, the camera and a RangeIR is all you need for the 'test' shots. I happen to use external flashes in the bobcat image, but I often use my trusty Canon 70D with the flash popped up (again, using AC power - this time with an ACK-E6 Adapter). The lighting will be harsh, but it is an incredibly simple way of seeing which critters you have around.
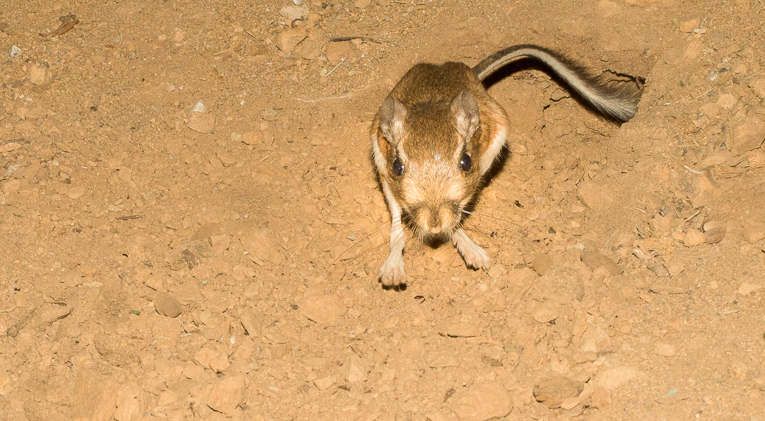
Monitoring burrows is another application for your reconnaissance setup. It is a quick and simple system to see what is living in the holes in your backyard. The Kangaroo Rat image below was captured this way.
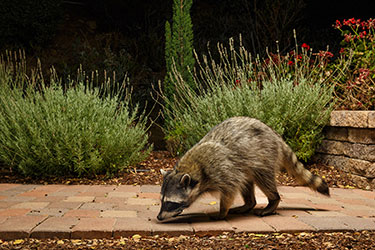
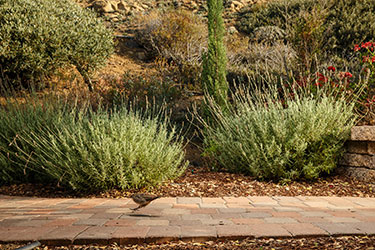
A single RangeIR can also be aimed across a path such that you can capture images of anything that breaks the IR beam, whether they are moving the left or the right. It is unlikely you will get a nice shot with the animal's face looking at the camera, but from the shots below, you can see what is visiting.
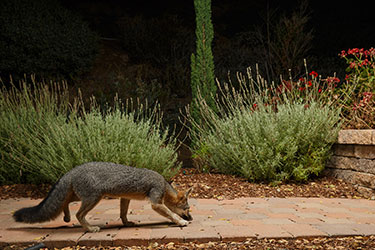
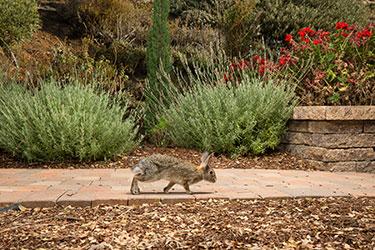
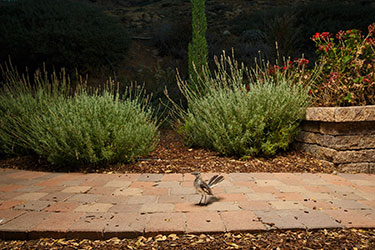
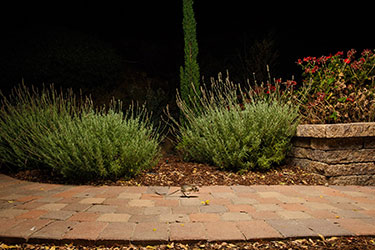
The RangeIR is sensitive enough to be triggered by anything from a mountain lion to a moth. Yes, you will even get some shots of moths that are so small that they are hard to see in the frame! Below are some examples of a single RangeIR hooked to my camera, and what it captured over a few nights. Clockwise from top left - Raccoon, Grey Fox, Rabbit, Wren, Kangaroo Rat, juvenile Mockingbird. The bird and rabbit images were both captured after dawn - you can see the ambient light illuminating the hillside.
Once you see what activity is going on, you can get more ambitious with the set.
Other Visitors
Refinement
Frame a little tighter, according to the size of the actual animal you really want to get an image of. You could close right in and get a full frame image of a rat, but might then only see the paw of a bobcat if it came through. That choice is down to the photographer.
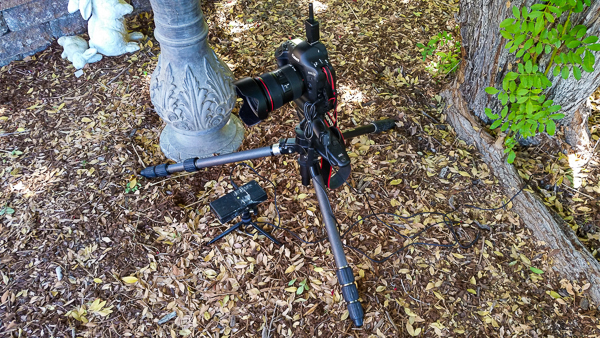
If you are after a profile shot, fine - just use one RangeIR. If you want a head shot, like the bobcat at the top, it is better to use TWO RangeIRs hooked up to a StopShot. In this way, the trigger system becomes directional - an animal walking right to left will *not* trigger the system, but an animal walking left to right *will* trigger it. Thus, if you set your camera up to shoot more along the trail than across it, you will get more of a head shot. But no butt shots! Also, the animal won't be startled by the system triggering if it is heading the 'wrong' way, and is more likely to return along the same path, this time in the 'right' direction.
Behind the Scenes

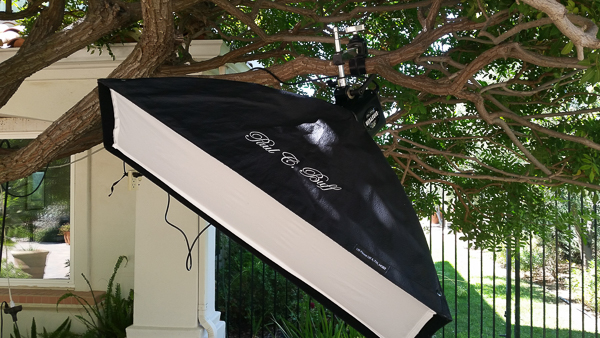
The Importance of Lighting - I spend a great deal of time and effort on lighting. I really dislike nocturnal shots of animals that are lit with harsh flash - it produces harsh shadows and awful contrast - so I soften and diffuse my light at all opportunities.
My flashes in this case are a couple of Paul C. Buff Einsteins. I think these are the best value flash units on the market today - they are so flexible, powerful and reliable. Again, AC powered. Of course you have to make sure that it is going to be a dry night, otherwise I put Ziploc bags over them. I often use old used hammerhead flashes, like the Sunpak 544 - these are super powerful, super cheap on Ebay, and can also be powered with an AC adapter. They are also much more convenient to put in a Ziploc bag, are much more portable, and can be powered by batteries if necessary. If there is a chance of moisture, these are my flashes of choice. Of course, in torrential downpours, things do get wet, and sometimes the flashes do die - but at $25-40 on Ebay, I am not complaining. I almost always employ small softboxes with the Sunpaks - I love the Alzo Digital line of softboxes - cheap and well made. I have had three of those for many years, and have had them out in all conditions.
I sometimes use Canon 600EX-RT's if out in the field, but these are expensive, and theft can be an issue for remote photography.
You may notice the umbrella in the top left of the setup shot, suspended up in a tree! The umbrella produces a soft light resembling bright moonlight. I live against a hillside that suffers a *lot* of wind, so I have to make sure the umbrella is very well fixed to the flash head and tree. The smaller softbox provides a more directional and illuminating source.
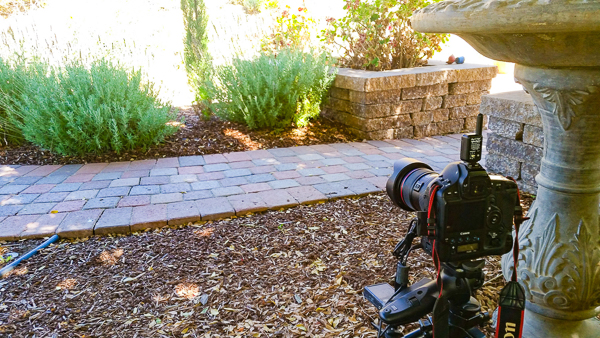
The Camera - I use AC power whenever I can - even if it means trailing several hundred feet of power cord from my house. Any time I don't have to worry about batteries running down is a good time.
You will see my Canon 1Dx is being powered by the ACK-E4 adapter - I use this all the time, even when I am shooting hummingbirds. Lens happens to be a 24-70mm f2.8 here, but the conditions dictate the type of lens you should use.
The camera is close to eye level with the animals, and for profile shots, I have the RangeIR in the same axis as the lens. As I run the camera on AC - I have the shutter interface switch set to Wake - which is the same as pressing the shutter halfway all of the time. The camera responds quickest in this mode, but it consumes power. With AC power, it is fine - no batteries to run down! I always pre-focus where the animal is likely to cross, and leave the lens in Manual Focus mode - this is important. The camera may not take a shot if you leave in in AF and it cannot lock onto focus.
This is a cool way of monitoring what goes on in your pathways, but as you can see, profile shots are pretty hit-and-miss in terms of visual aesthetics. Much better to use a twin beam, directional setup (i.e. the RangeIR Cross Beam Kit and StopShot) as was used for the Bobcat image on the top of the page. Camera trapping is a fun way of seeing what is around your yard at night, while you are tucked up in bed, sleeping soundly. With care and attention, you can create some really lovely images of exotic, elusive or nocturnal animals.
This article and all of the images were contributed by Roy Dunn. You can see more of Roy's work on his web page humanstohummingbirds.com
More Information
Find more information on the RangeIR sensors, or the wiring diagram for setting up a dual beam system. Or, find out what else you can do with StopShot.
 Out of Stock
 Out of Stock
As low as $439.00