Scout PIR Sensor
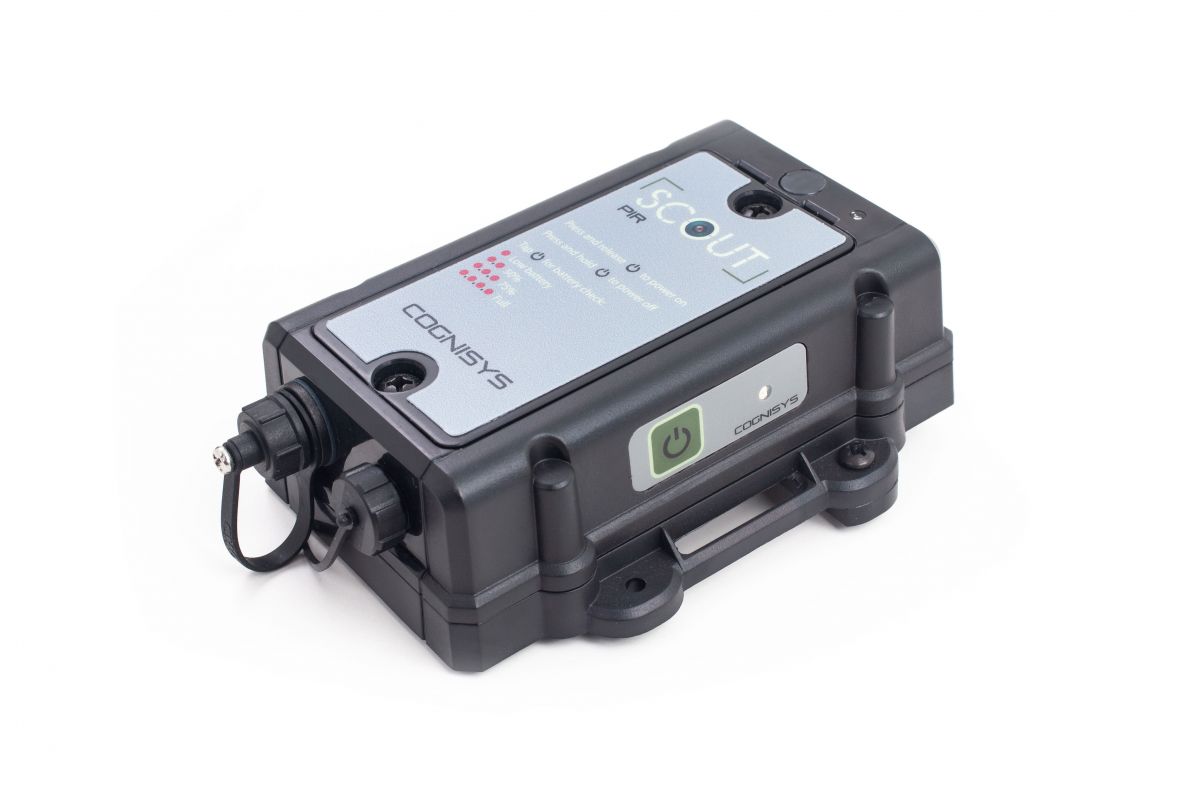
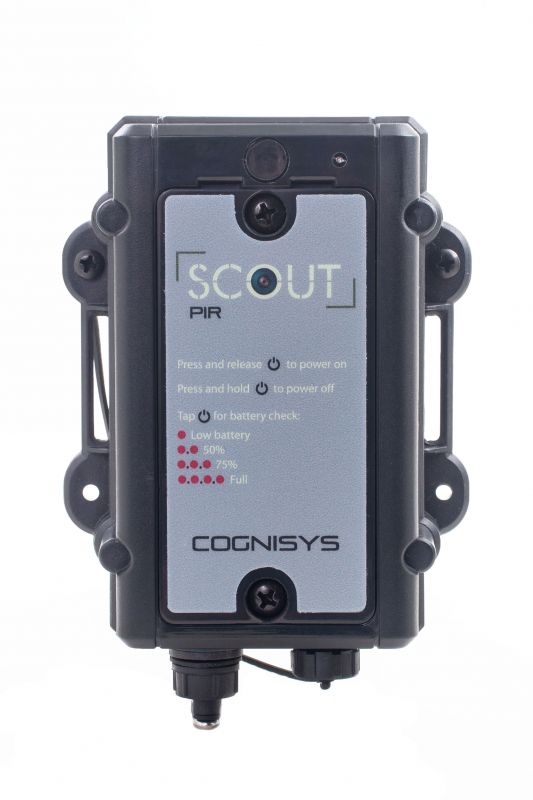
The Scout PIR Sensor is a AA powered, weatherproof, compact Passive Infra Red sensor for long duration camera trapping applications. PIR is a good sensor choice if you want a wider field of view than a beam sensor can provide.
What's Included:
1 x Scout PIR Sensor
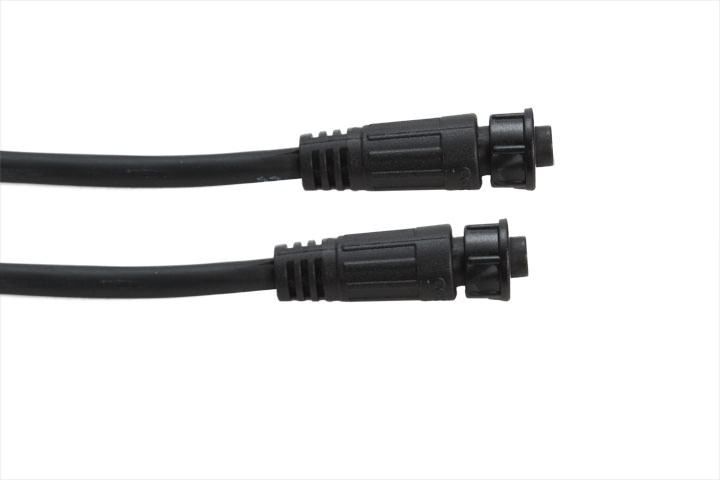
1 x 4m Sensor to Camera Cable
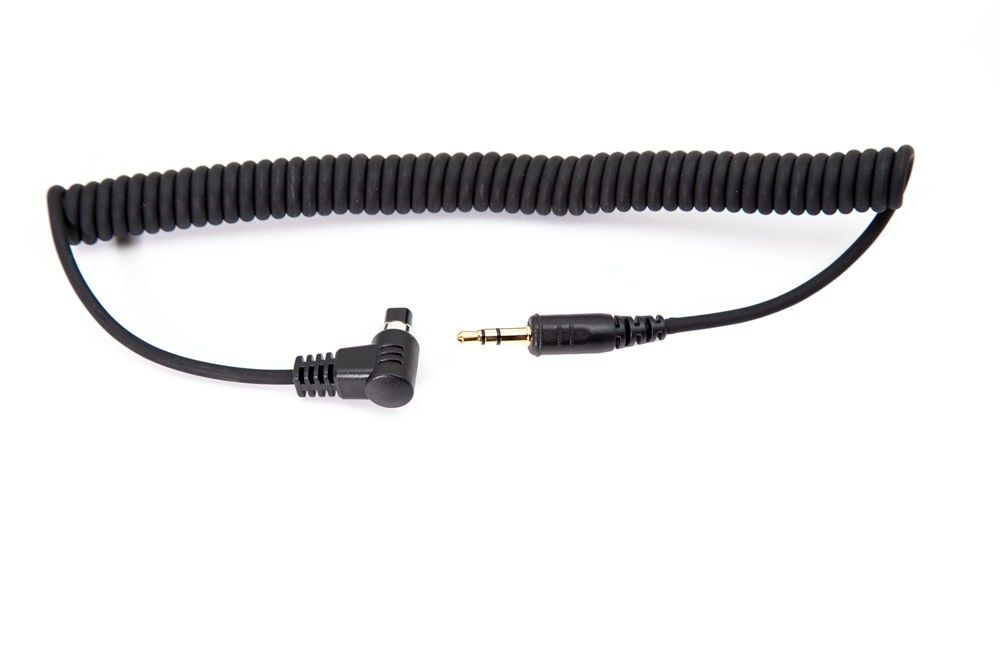
1 x 3.5 mm Camera Interface Cable
(batteries not included)
Scout - Passive Infra-Red (PIR) - A wider Trigger Area
The Scout PIR sensor is our latest addition to the Scout line of camera trapping gear. The PIR sensor is a good fit if you need a wider triggering area than a beam sensor can provide. It also has the benefit of being single ended - no separate transmitter and receiver. When the Scout PIR is used with the Scout Cam-Box the system offers wireless triggering of the camera. The trigger is incredibly easy to use right out of the box but also offers the flexibility of a USB interface to create more complicated configurations. The Scout PIR can also be configured directly through the Scout Camera Box Mobile App.
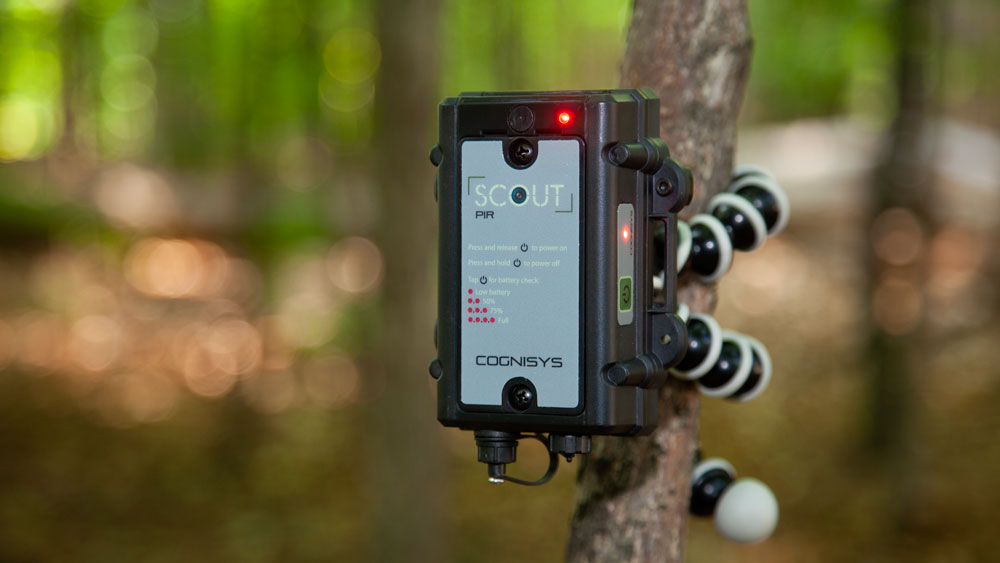
Scout Highlights and Features
- Senses changes in heat and fires the camera when detected.
- Compact design.
- Very Rugged UV resistant housing.
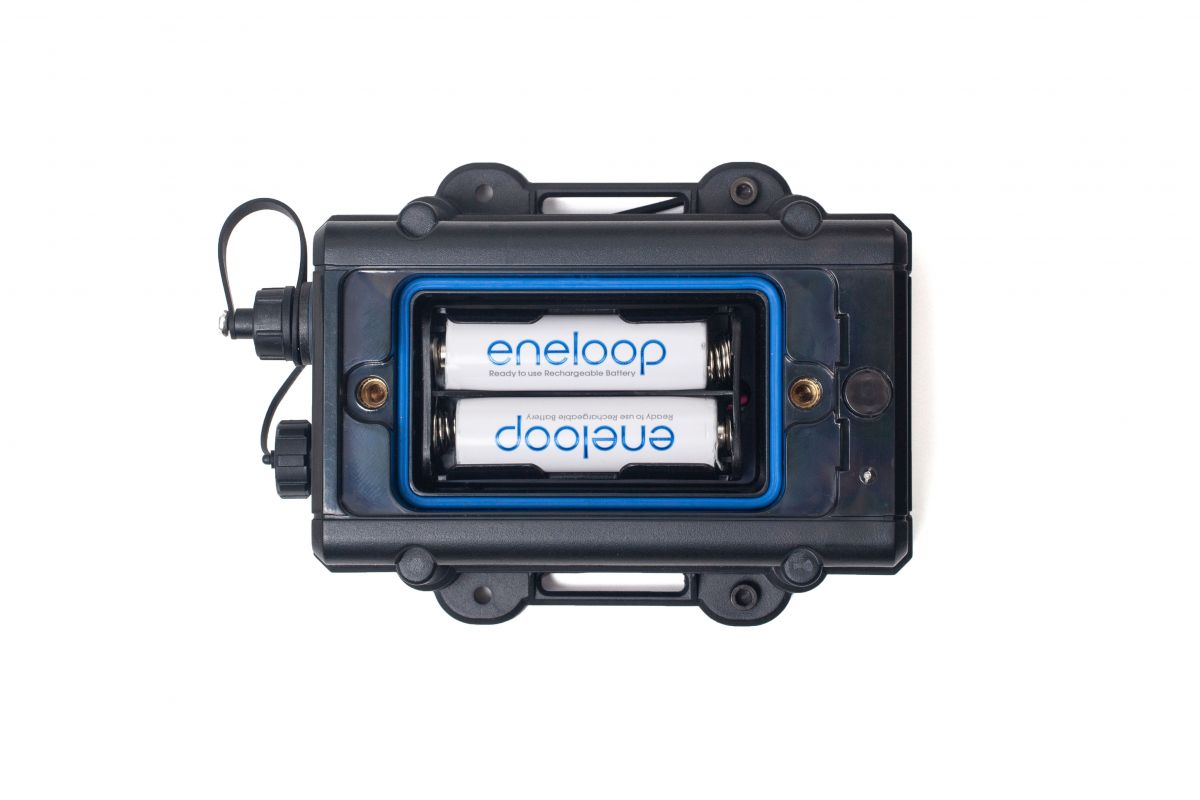
- Powered by two AA Batteries.
- Battery life on one set of Eneloop rechargeable batteries at least 90 Days (25C).
- Camera control is completely customizable - including periodic 1/2 press for keep-alive.
- Adjustable sensitivity to prevent false activations
- Start and Stop Video recording with Sony cameras using this optional cable.
- Quad-element differential PIR sensor for superior noise filtering.
- 20 degree (+/- 10 degree) active triggering window.
- Two active time windows - Program the times of day you want the system to be active.
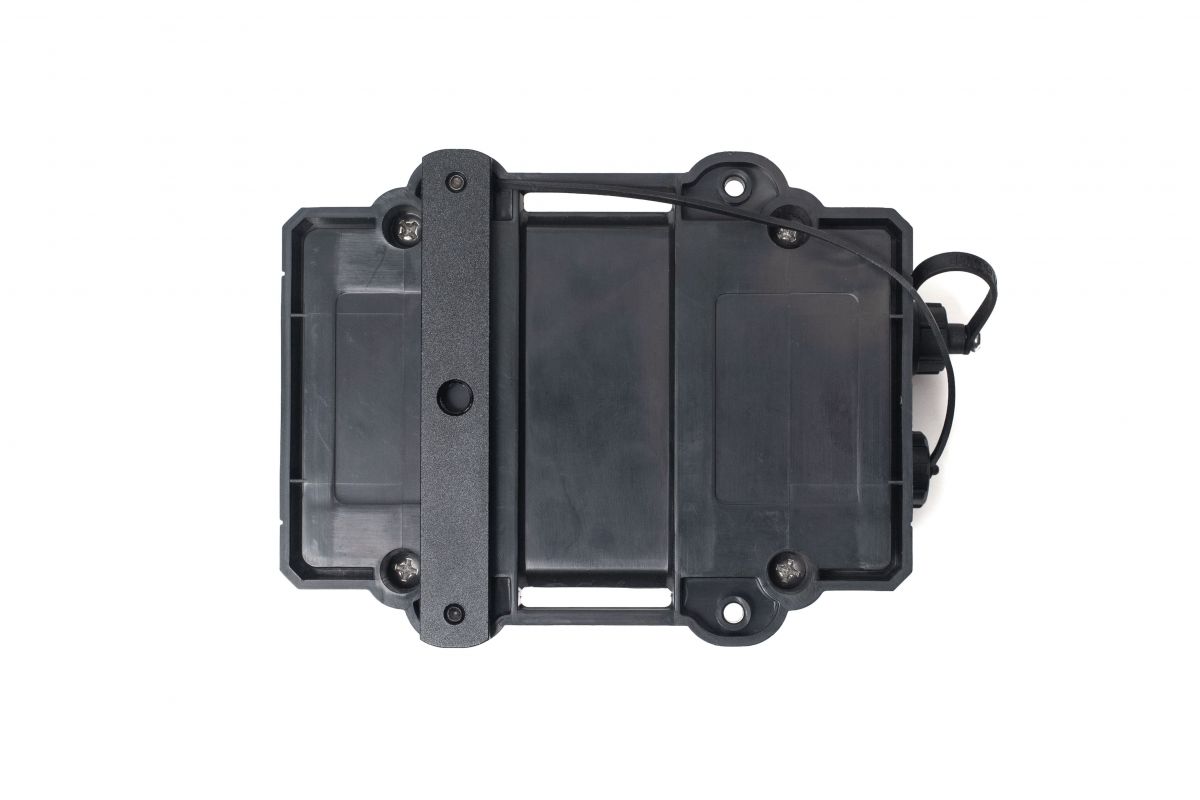
- Included aluminum 1/4-20 tripod mount.
- Housing is weather proof - designed to be left in the weather.
- Features all weather proof connectors.
- Equipped with USB to facilitate configuration and firmware updates.
- Use the Scout PIR sensor and the Scout Scout Cam-Box for a complete wireless camera triggering solution.
- Use the Scout PIR to control the Scout LED. without the camera box
- 32-bit high performance low current ARM Processor
Quick Specs
- Length: 116 mm (4.58 in)
- Width: 92 mm (3.60 in)
- Height: 37 mm (1.45 in)
- Weight: 0.212 kg (7.5 oz) (not including batteries)
- Max Detection Distance: 5 m (16 ft)
- Battery Life: >90 days at 25C (NiMH Rechargeable)
- Operating Temperature: -40 to 60C (-40 to 140F)
- Response Time: 100 ms max
Wireless Interface
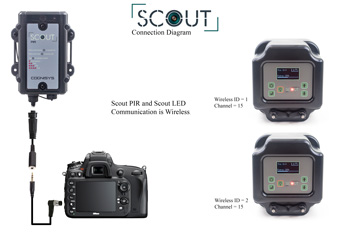
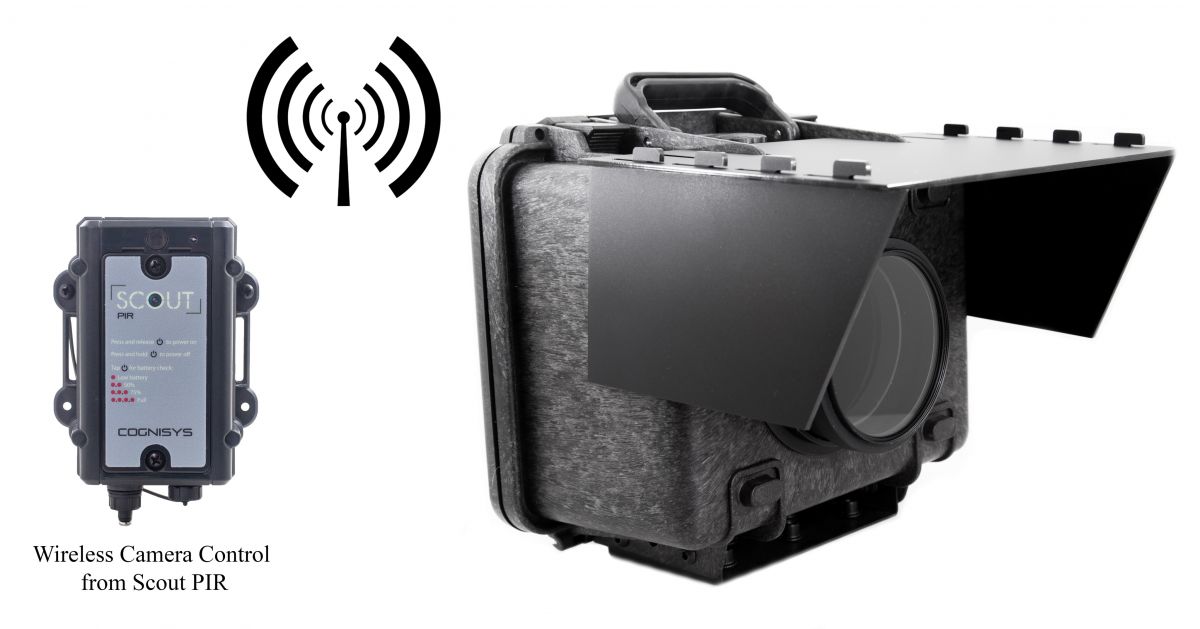
The Scout PIR can be used to trigger the Scout Camera Box to provide a complete wireless camera trapping system. The PIR can also be used to directly interface with the Scout LED (no camera box required).
Connecting Scout to your camera
Camera Control
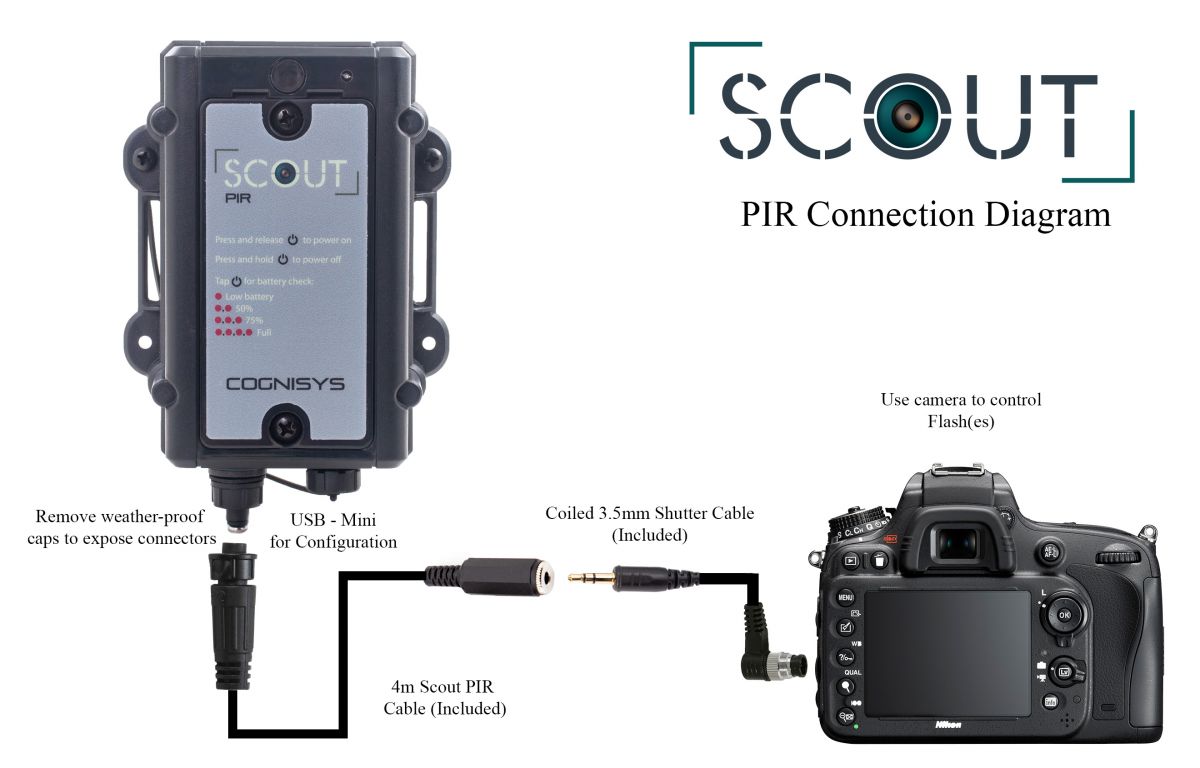
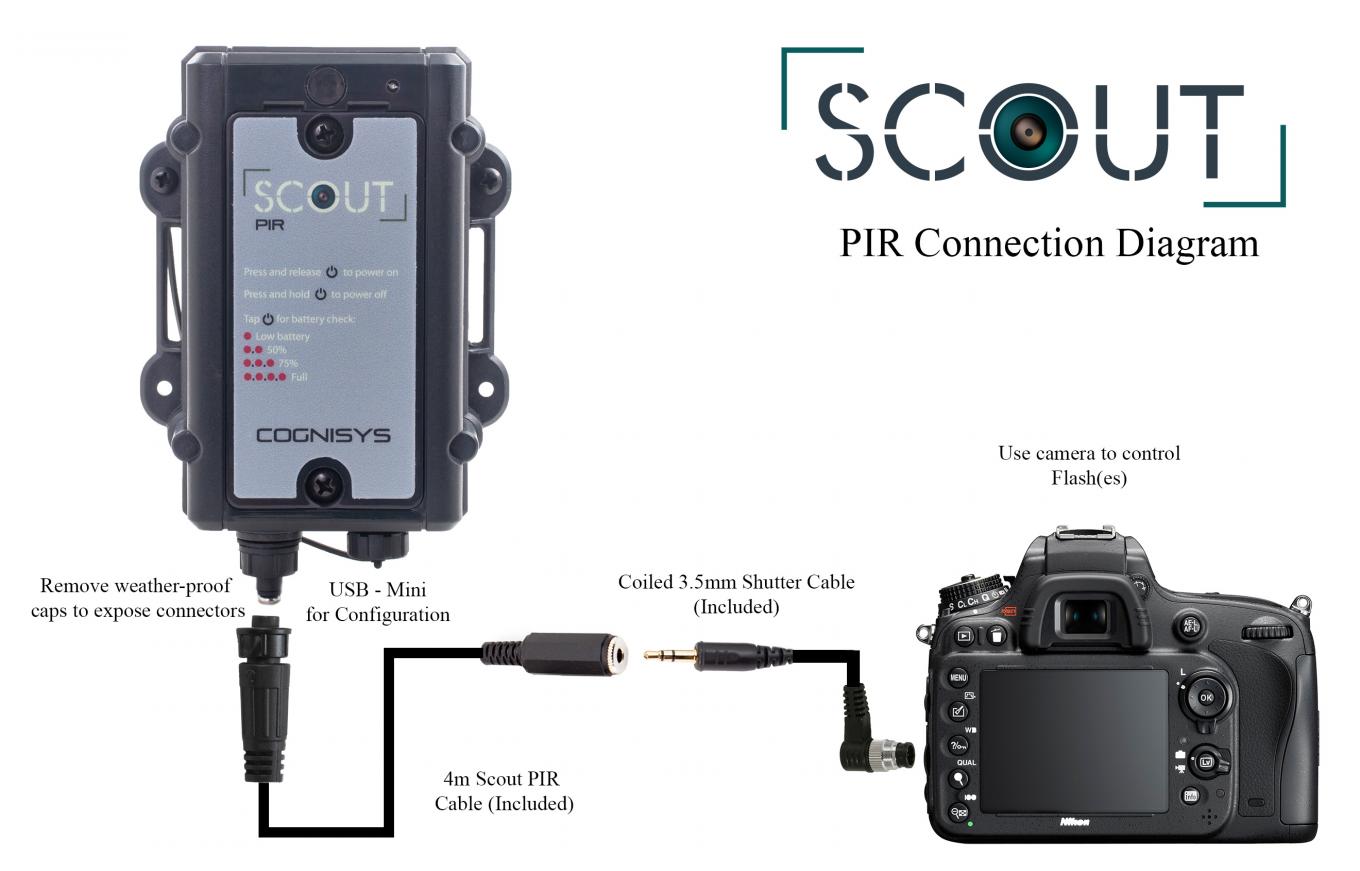
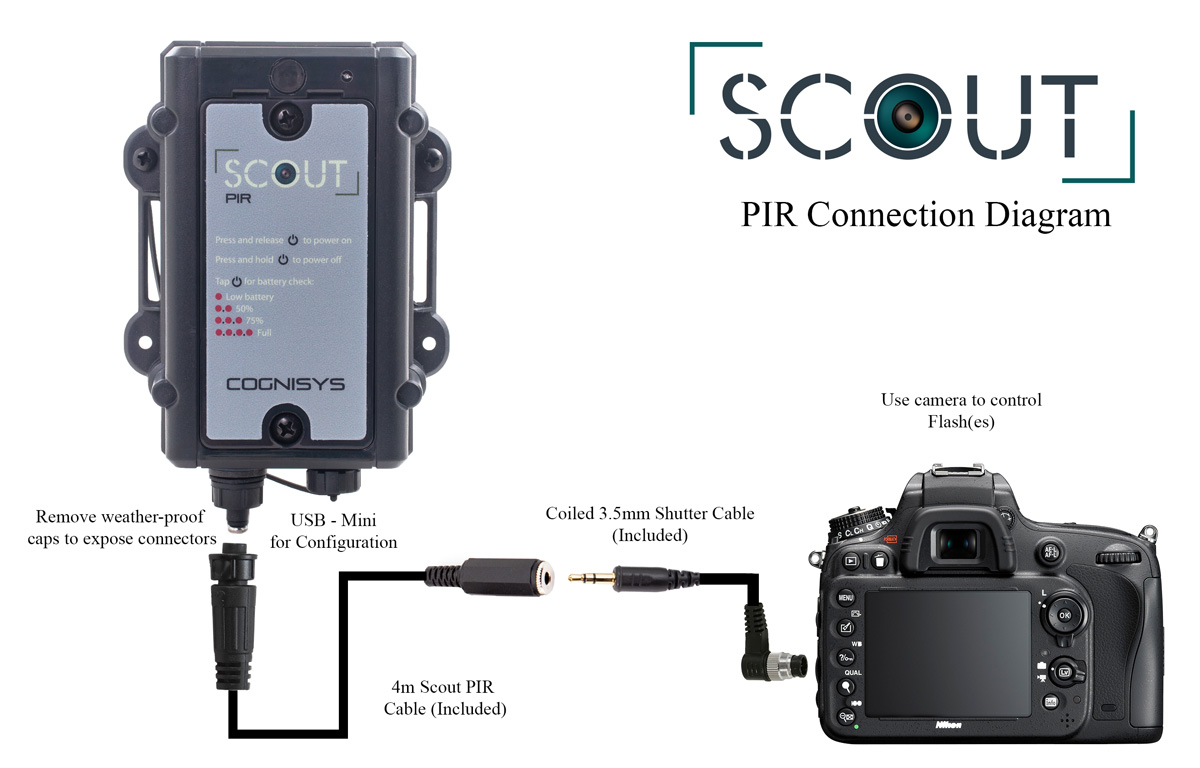
There are two methods to control the camera with the Scout PIR Sensor. The first method is to connect the Scout PIR as shown above. In this case the Scout PIR sensor will fire the camera and the camera will control the flashes. Scout interfaces with your camera using the same port where you would connect a remote shutter switch. The default timing will assert the camera shutter and 1/2 press simultaneously so for most cases no additional configuration is required. If you need more control over your the shutter or 1/2 press controls of your camera no worries the Scout PIR sensor can be configured via USB for any timing you need.
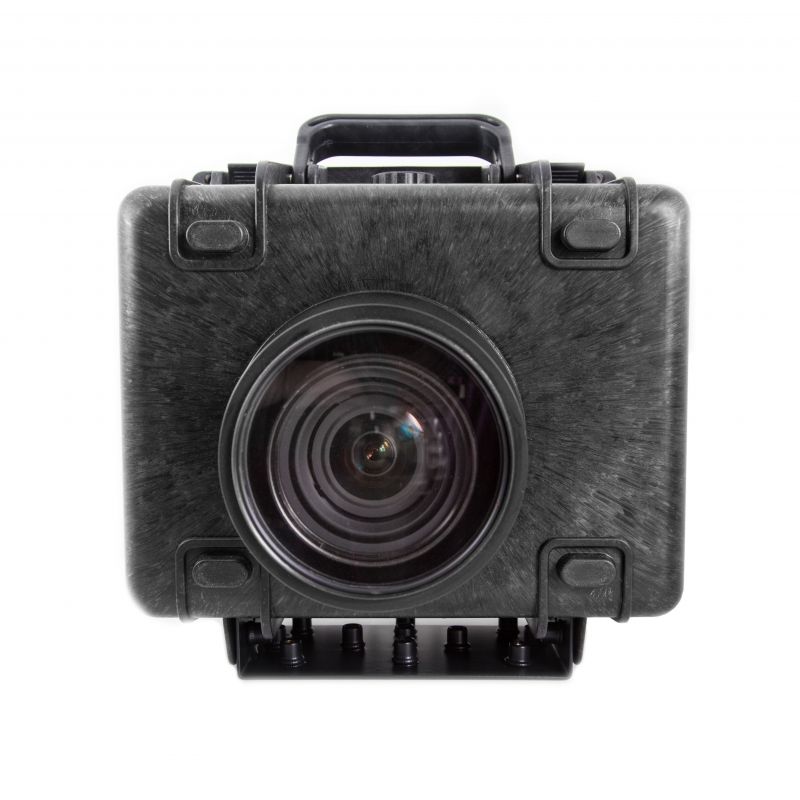
The second method to connect the camera to the Scout PIR Sensor is to use the Scout Camera Box - this has the very significant advantage of allowing wireless triggering of the camera. When the Scout PIR detects a subject it will send a wireless message to the Camera Box which will then fire the camera. Using this method has the added advantage of being able to configure the Scout PIR right through the Camera Box mobile application.
You can also use Scout to stop and start video recording on your Sony camera with this optional cable.
When to Use a PIR sensor
Everyone knows if you want the best results you need to use the right tool for the job. The same goes for sensors. If you are after a tack sharp still image of a visiting mountain lion - use a beam sensor. If you are shooting a video where you want to see the subject enter the frame the PIR is the right choice. PIR has a wider view so it is perfect for this application. Another consideration of PIR is that it is more prone to false triggers than a beam sensor is. If camera battery life is a huge concern and your don't have enough power budget for some false triggers then you should use a beam sensor. The beam sensor is more expensive but it does have some fairly significant advantages for certain applications.
Advantages of PIR
- Lower Cost
- Single Ended - no separate transmitter and receiver
- Two AA's for power - Beam sensor uses 6 in each side
- Wider field of view - less precise placement required
- PIR continues to activate as long as motion is present
Disadvantages of PIR
- Wider Field of view makes tack sharp stills more difficult - where do you focus the camera
- Potential false triggers form warm moving objects (leaves in the sun)
- Slower response time
- PIR becomes blind when the ambient temperature gets too hot
PIR Sensor Application Tips
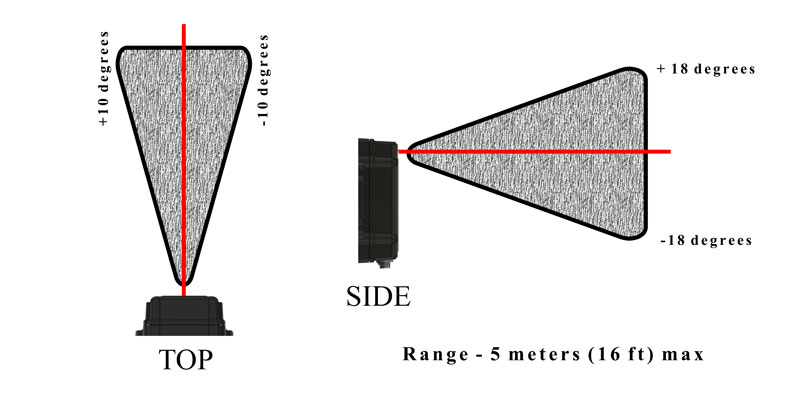
The Scout PIR isn’t a beam-break sensor. It is a heat sensor that has a “cone” of area where it looks for abrupt changes in heat. As PIR sensors go the Scout PIR Sensor has a fairly narrow beam width (that’s a good thing!). Understanding what this “cone” looks like is the first step to a successful setup.
The “cone” has a top-to-bottom width of 36 degrees (+/- 18 degrees), and a side-to-side width of 20 degrees (+/- 10 degrees). That means that the sensor will see top-to-bottom a bit wider angle than side-to-side.
The image to the right shows the cone where the PIR is "looking".
PIR Setup Guidelines
1. Stay aware of what the PIR sensor will "see" in its cone as shown above
2. The closer the sensor is to the subject the more likely you are to detect it (or the smaller it can be).
3. If possible, position the sensor so it won’t be seeing motion from your natural environment.
A good example of this is trees - trees by themselves aren’t a problem – but trees moving from the wind might be. If the branches are moving slow enough in the wind it likely won’t be a problem. If, however, the sun is shining brightly to warm the leaves and they start blowing around in the wind all of the sudden you have a hundred happy dancing heat signatures in the PIR’s “cone”. It is important to keep these types of scenarios in mind when setting up.
4. Try and orient the sensor so it is facing North(ish). This has two benefits. First, the sensor won’t be looking at the fiery orb in the sky appearing and disappearing behind leaves. The second reason for “North” is avoiding the Sun shining directly into the sensor. It won’t cause damage but it WILL cause a temperature shift compared to the ambient temperature which could cause false or missed triggers.
5. Set your sensor off the ground by a reasonable amount. Nature is dynamic (a polite way of saying that she’s out to get your camera setup). Grass grows quick (a different flavor of the tree issue). Rain can cause dirt to splash back on the sensor partially or totally blinding it (think of driving into the Sun with a dirty windshield – what do you see?).
Obviously we don’t live in an ideal world and guidelines #3 & #4 can sometimes be difficult (or impossible) to accomplish. Is there a plan B? Absolutely! This is when adjusting the “sensitivity” comes into play. Chances are those leaves and branches are further away than the subject is that you’re trying to photograph. You can turn down the sensitivity enough so that it will ignore the further away potentially false triggers while still working fine for the camera trap setup. If you’re especially paranoid about excessive false triggering, you can always enable the “Shot Limit”. Check out the owner's manual for more details on the sensitivity and shot limiter.
Using the PIR with the Scout Camera Box
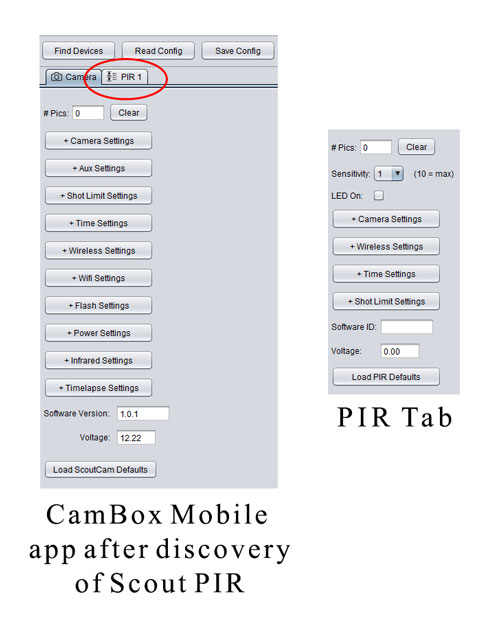
If you have a Scout Camera Box it can be used to configure the Scout PIR Sensor. When the Scout Camera Box is powered on and there is a Scout PIR Sensor nearby the camera box will begin communication with the PIR and add a tab to the Scout Mobile Application as shown below. From here all of the Scout PIR parameters can be adjusted.
In addition to changing the parameters through the mobile app of the camera box all of these same parameters can be configured through the on board USB port of the Scout PIR Sensor.
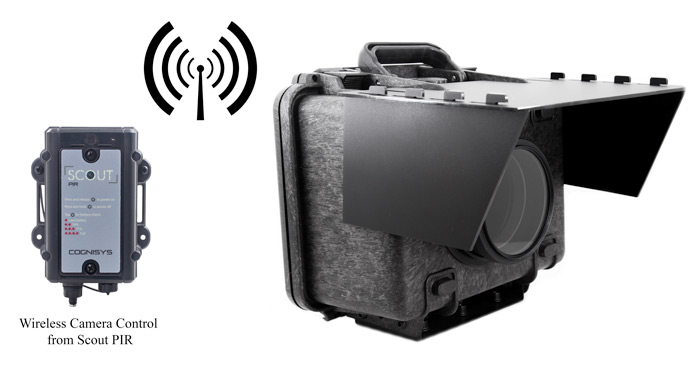
PIR Sensor, Canon 5D Mark IV, and the Scout Camera Box
Foxes in 4k from Roy Dunn on Vimeo.
This 4k video was captured by Roy Dunn in southern California using the Scout PIR, The Canon 5D MkIV and the Scout Camera box. This setup had been deployed for five days when this video was captured. How is this camera kept in video mode for that long? There is some very careful setup required but the flexibility of the Camera Box makes it possible. While the Canon 5D MkIV can be put into a mode that allows a video to be captured with the remote shutter port (the first Canon ever with this feature) it normally will go into a deep sleep mode after 30 minutes. You can wake it up from this deep sleep mode but the camera wakes up in still mode - no more remotely triggered video! To make remote deployment of this camera possible for video it is necessary to wake the camera up every 28 minutes to prevent it from going into deep sleep and resetting the video trigger mode. This is done with the Scout Camera Box sending a periodic half press every 28 minutes to keep the camera from deep sleep. The camera also needs to have the auto power off set to the shortest duration of 1 minute to save battery life.
It took Roy some serious experimenting to get all of this sorted and reliable... Thanks Roy! In this setup Roy also uses the Aux output of the Scout Camera Box to turn on the LED video lights. The video record and the powering up of the video lights is kicked off with a wireless signal sent from the PIR sensor to the Scout Camera Box. You can see more of Roy's work on his website: HumansToHummingbirds.com
Top Customer Questions and Answers (FAQ)
Dimensions
| PIR Dimensions (L x W x H) | 116mm x 92mm x 37mm |
Scout PIR Specifications
| Specifications | MIN | NOM | MAX | UNITS |
| Operating Temperature | -20 | 25 | 60 | C |
| Input Voltage | 1.8 | 2.4 | 5 | Vdc |
| Input Current - (at Vin Nominal 2.4V) | - | 0.93 | - | mAdc |
| Detection Range | - | - | 5 | m |
| Detection Angle - Width | - | +/- 10 | - | degrees |
| Detection Angle - Height | - | +/- 18 | - | degrees |
| Battery Life with 2 AA Eneloop NiMH Batteries | - | 90 | 112 | days |
| Real Time Clock Life - no batteries | - | 16 | - | hrs |
| Wireless Range - to other Scout Products | - | 15 | 30 | m |

