Using the Cognisys Insect Rig to Monitor a Yellow Jacket Nest
Capturing Yellow Jackets in Flight
A demonstration using the Cognisys Insect Rig
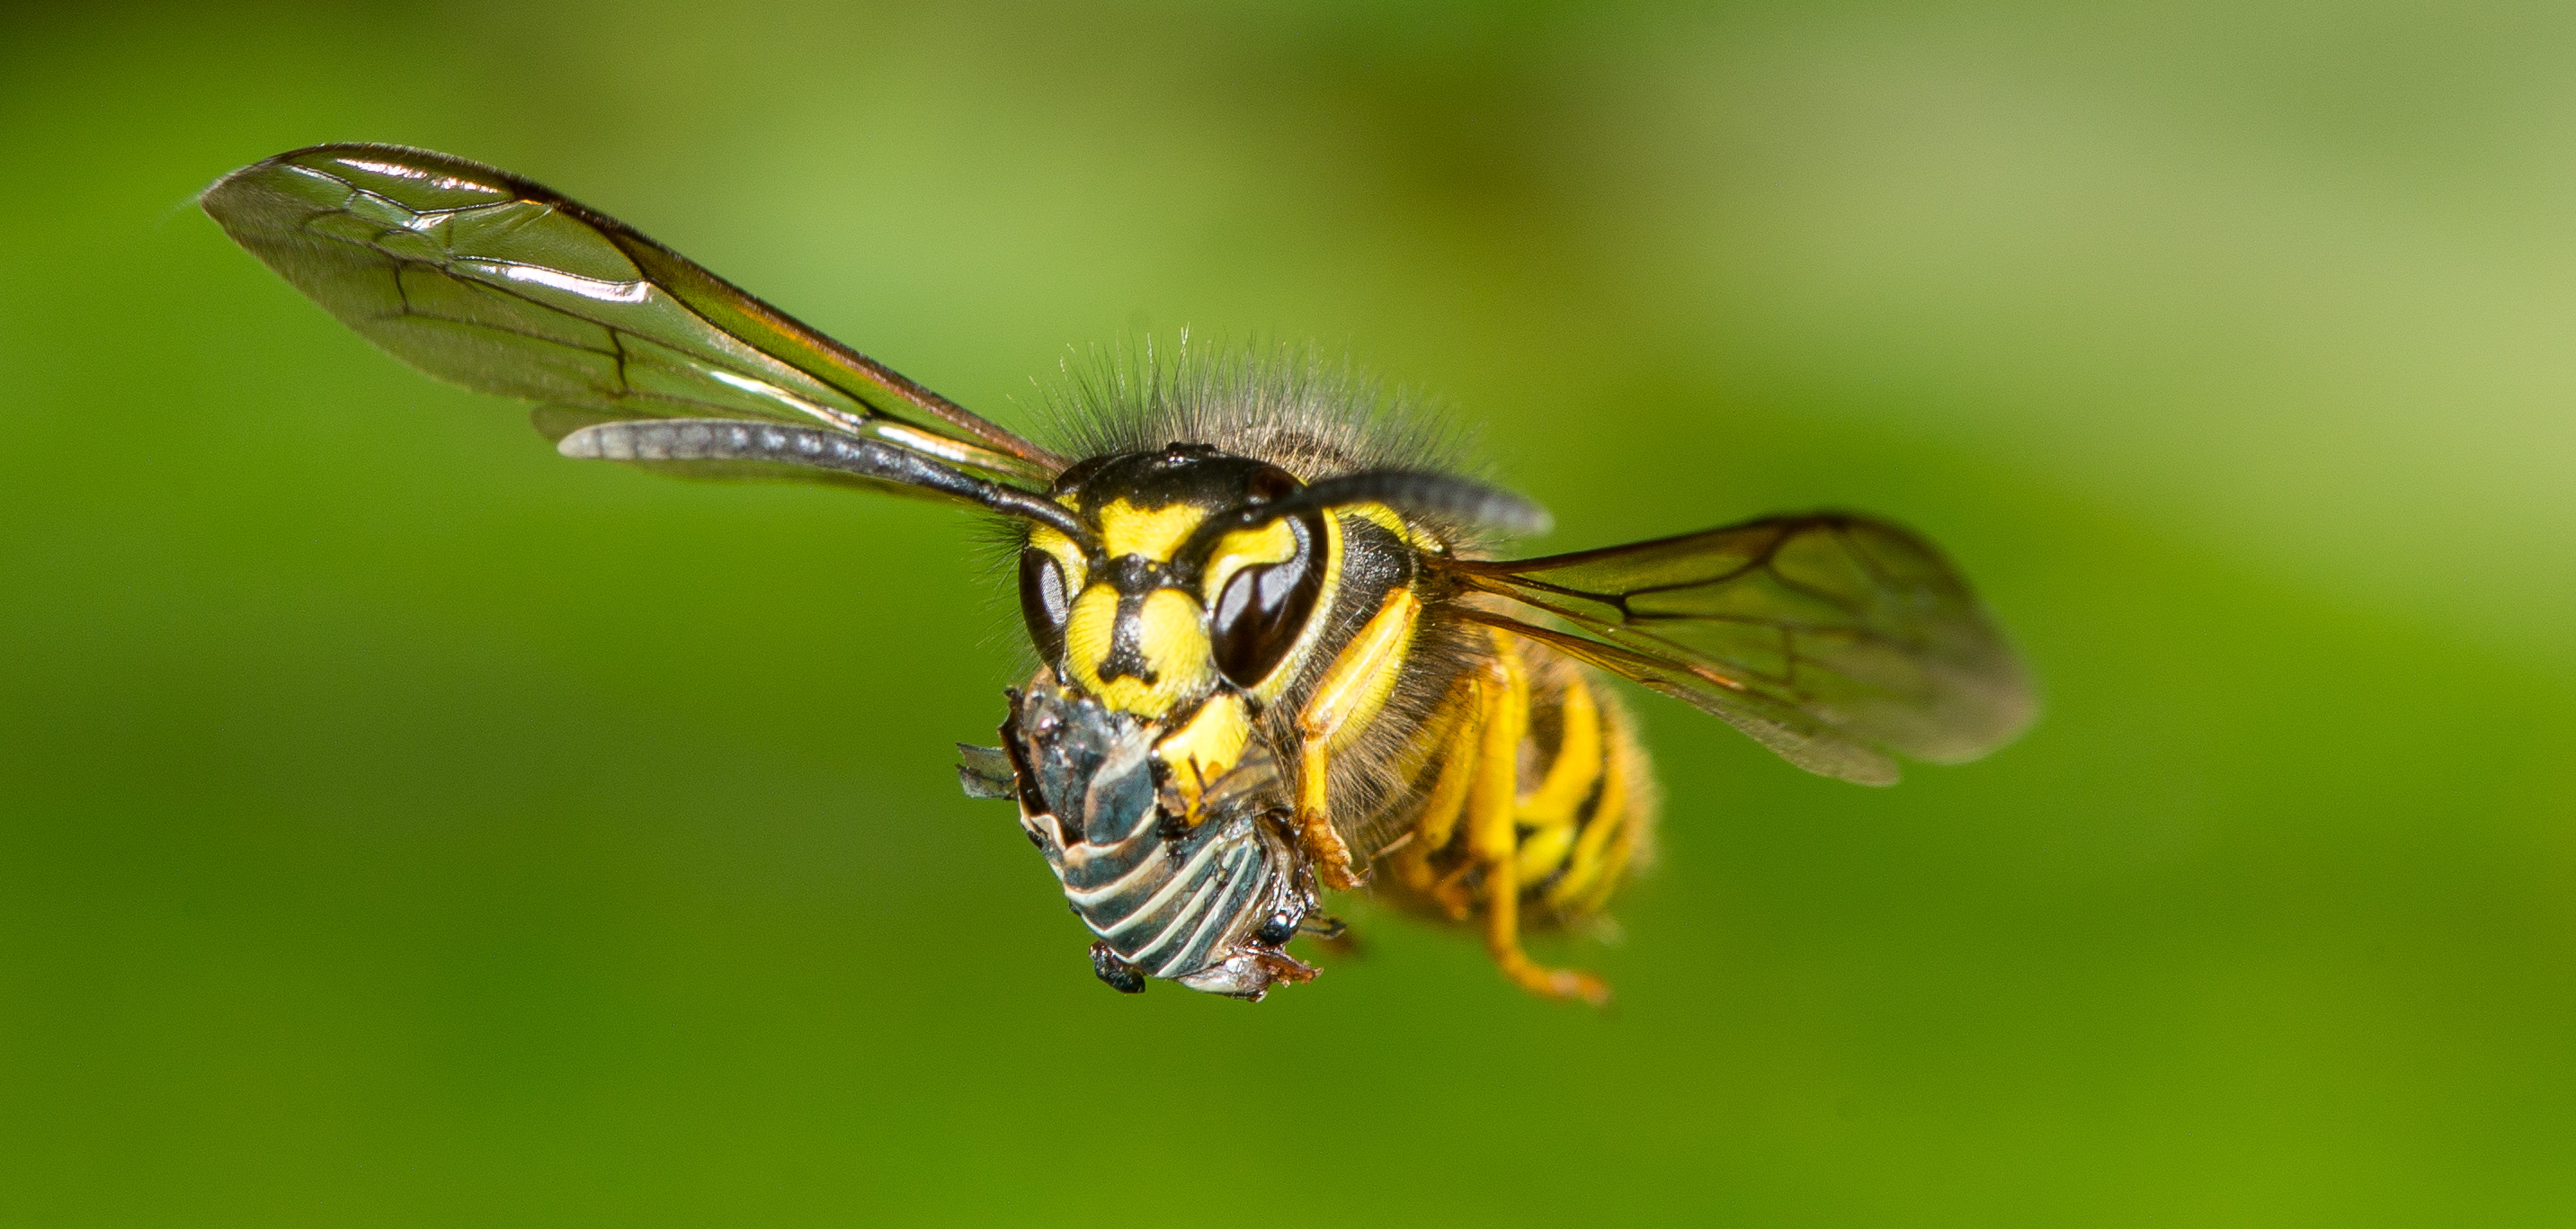
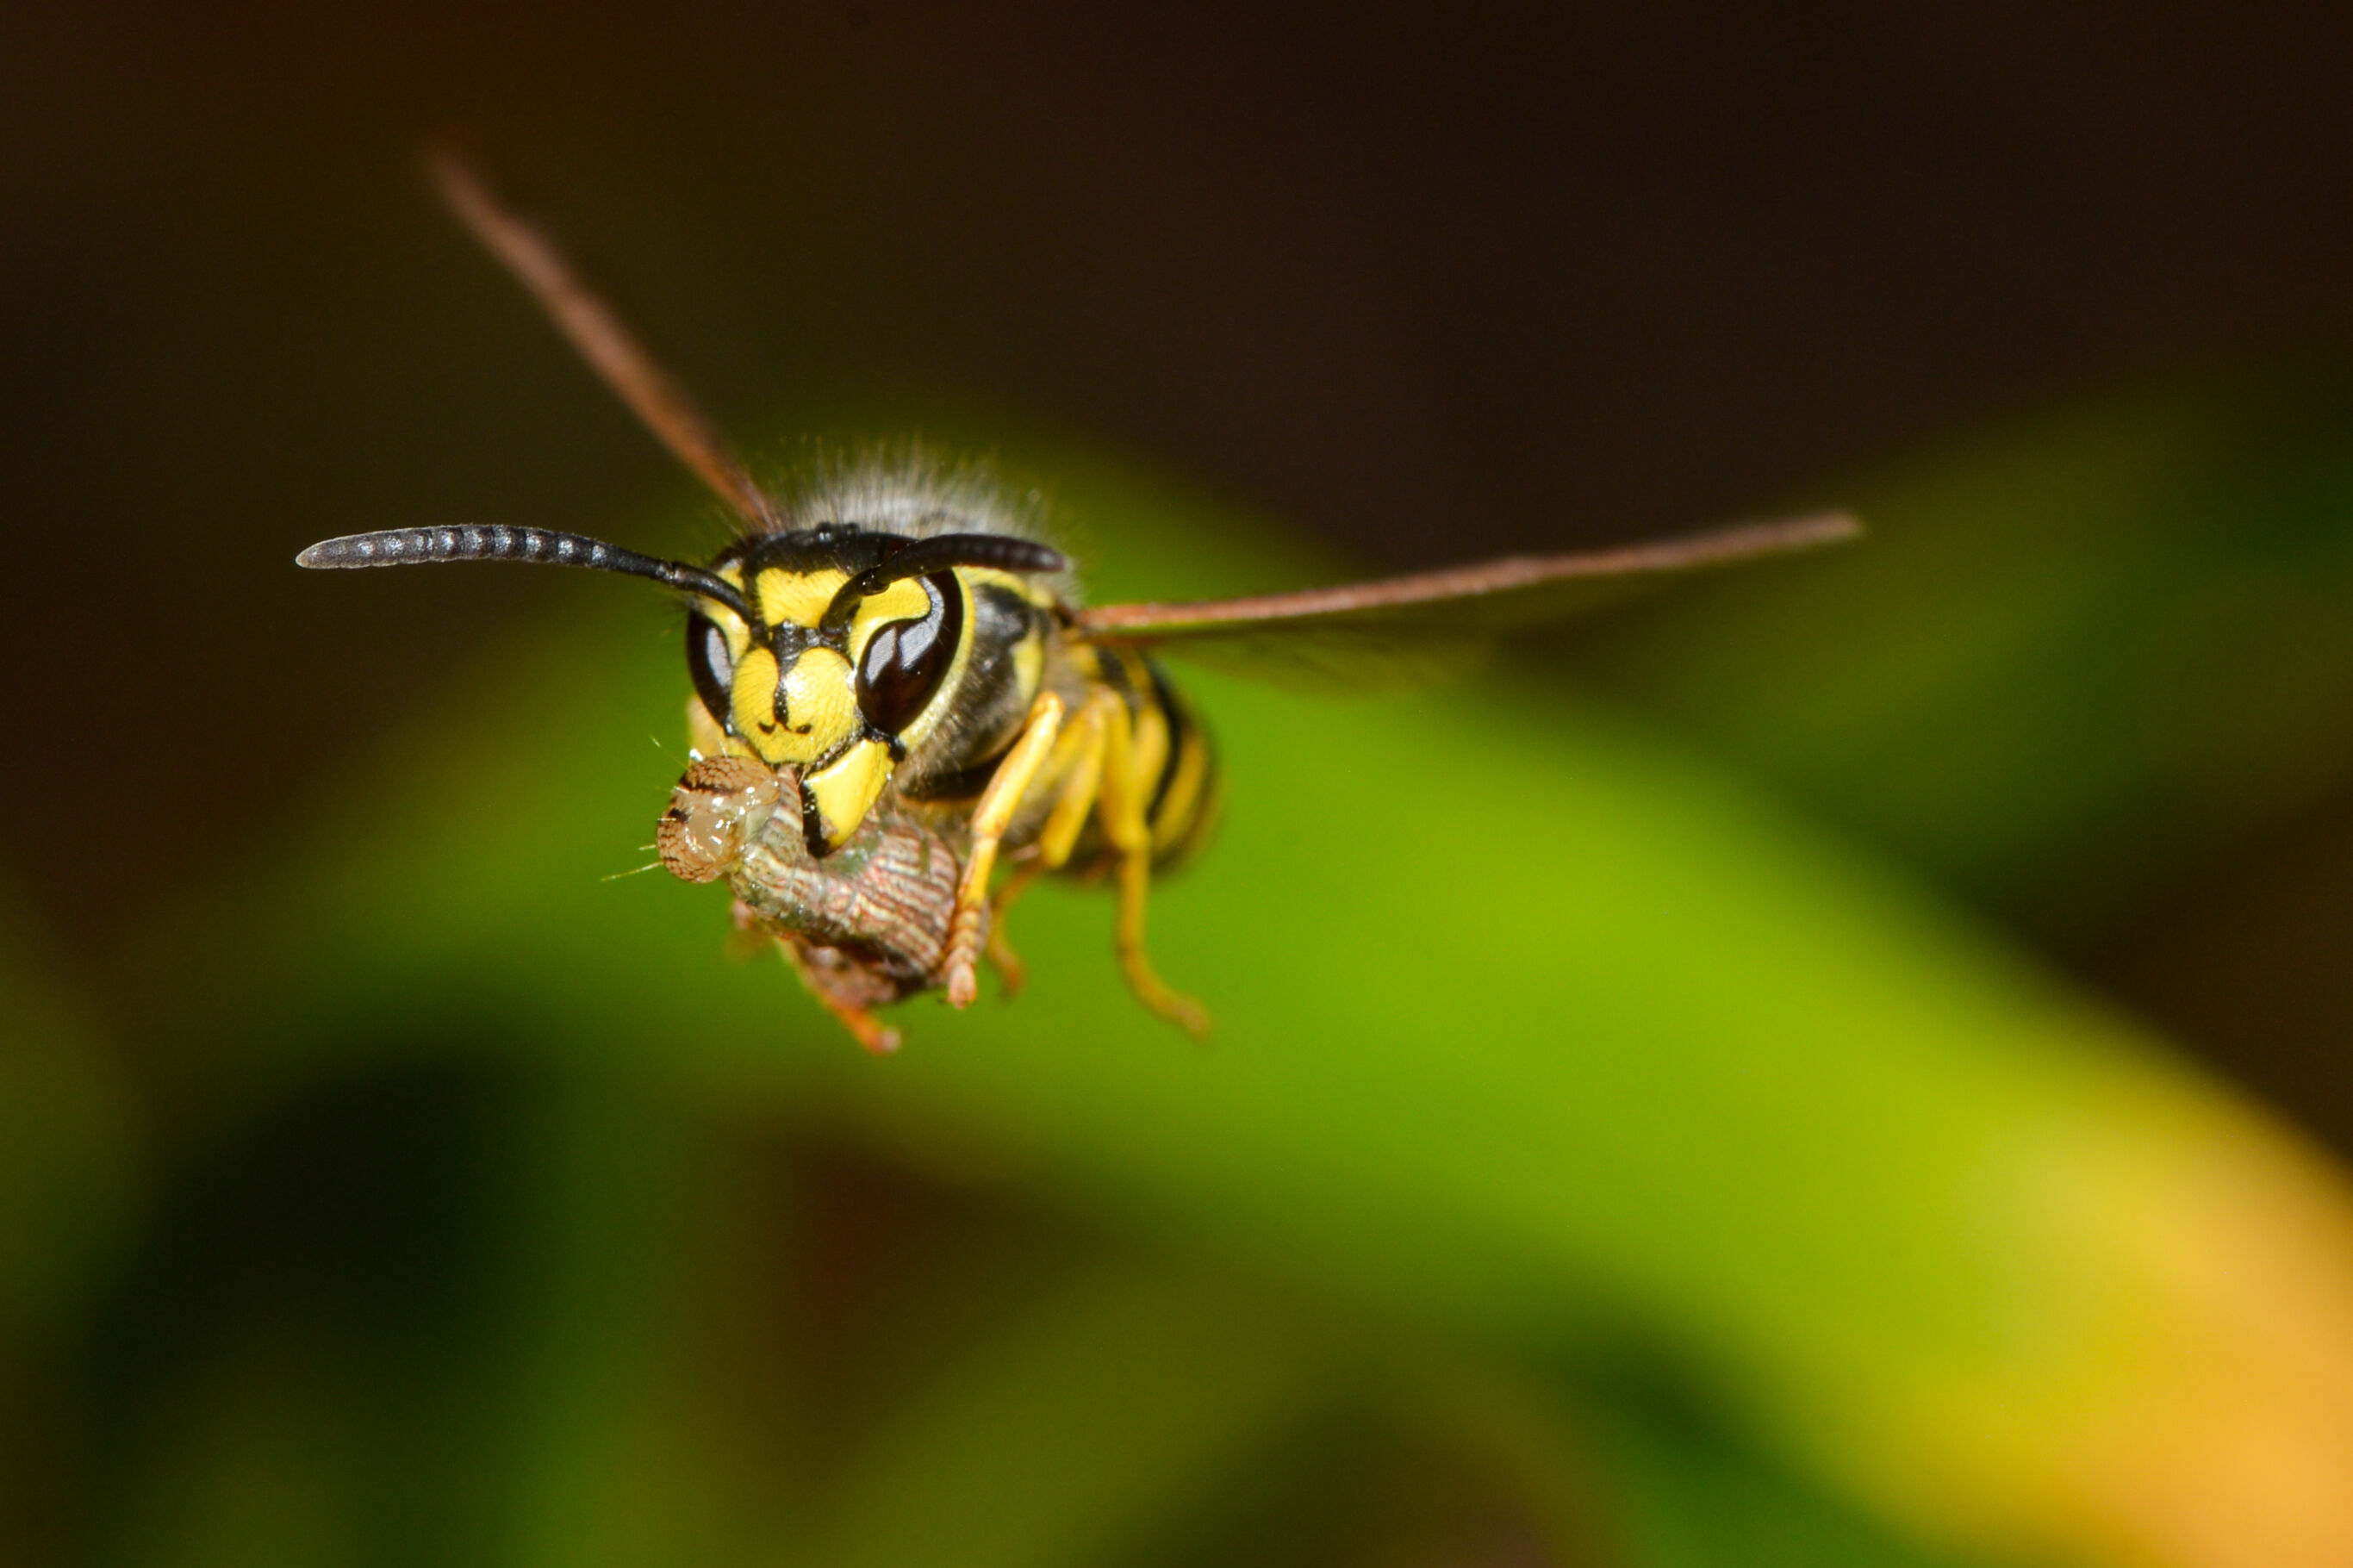
This image of a Yellow Jacket in flight was captured with the Cognisys Insect Rig. We discovered a nest of yellow jackets buried in the ground just behind the Cognisys building late in the fall and could not resist the temptation to get out the insect rig to see what they were up to. Despite it being the end of September in northern Michigan these guys were still very active. As you can see from the image above they were continuously hauling prey into there next. If you are going to photograph stinging insects an abundance of caution should be used - yellow jackets are far from friendly. I speak from experience as I ended up getting stung on the hand while adjusting the vegetation behind the nest for these shots. My hand ended up being so swollen that I could barely close it.
Getting Ready
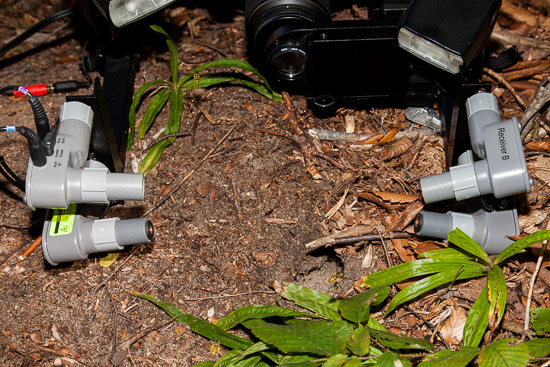
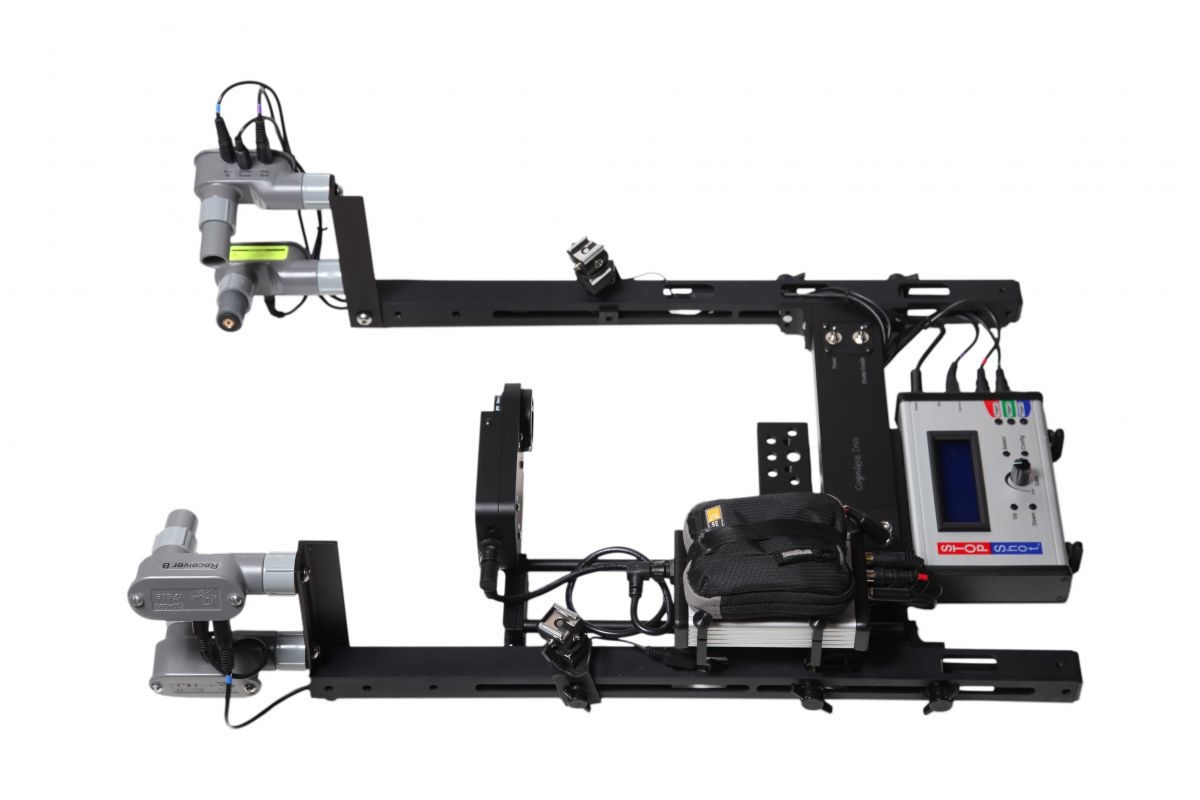
Before heading out and setting the Insect Rig over the nest I made certain everything was tuned and ready. My camera was already mounted to the rig from a previous project but you can see what that looks like here. Next, I made certain all of the batteries for the camera, flashes and insect rig were fully charged. For this shot I used a Nikon D600 and 105 mm Macro lens.
Laser Alignment
Before starting the alignment process you will need to open up the high speed shutter, do this by pressing and releasing the button on the shutter. It will open and stay open until you close it again. The LED will change from green to orange when the shutter is open. I start the alignment process with a piece of paper, usually a post it note with a pencil dot drawn on it. With the paper held vertically and and at a slight angle to the lasers, I then frame the dot so it is in the center of the frame using the camera viewfinder. If you know your subjects will be heading in one direction or the other you can lead them a bit by placing the dot off center of your frame. For this task though I figured they would be coming and going so I framed the dot in the middle of the frame. The next step is to adjust the lasers so that the two beams create a single pin point on the paper where the dot is drawn. You will also need to make certain the beams are hitting their respective receivers (remove the paper to check this). Once you have the lasers properly aligned the LED on the back of Sensor A will turn orange and you will have the two lasers cross at a point in the middle of your frame. It is sometimes necessary to change the focus of the lasers to get a narrow beam where they cross, this can be done by turning the lens of the laser slightly.
Camera Focus
If your lens has auto focus you can simply turn off the lasers while leaving the paper in place, select the center AF point on your camera and do a 1/2 press to get the camera to focus on the dot. Just don't forget to turn AF off once this is done. If your lens doesn't have AF you will need to focus on the dot manually, if the lens is particularly light hungry (like the Canon MP E-65 at 2X) I will leave the lasers on and focus on them. Using live view can help here as well. Once you everything focused and aligned close the high speed shutter by pressing the button again, the LED will turn green.
StopShot Settings
StopShot is the brains behind coordinating the sensors, high speed shutter, camera and flashes. It makes certain everything happens in the right order and at the right time. StopShot has presets for use with the insect rig, the easiest way to go is just load them from memory, if you want a complete walk-through of the programming you can find it here.
Setting the Exposure
Verify your camera is connected to the insect rig. Set the camera to bulb mode, aperture to f/16 or so and the ISO to 100. To activate the camera shutter flip the shutter switch on the insect rig to "ON" this will give StopShot control over the shutter and its timing. As soon as the switch is flipped you should here the camera shutter open. The image is not being exposed yet as the high speed shutter is blocking any light from getting to the sensor. Turn on the flashes and set the power to 1/16 or lower. Remember it is the flashes that are exposing the image and the shorter the duration (lower the power) of the flash the faster the motion you can stop. If you look closely at the image above you will not see much motion blur even in the wings. For this shot I used one flash set at 1/32 and the other at 1/64.
Verify the Exposure
To verify the exposure swing your finger through the cross beam sensor. You will hear the high speed shutter and see the flashes go off. Then you will hear the camera refresh the frame... pretty cool eh?. To review the image flip the shutter switch to off and use the review function on your camera. If the exposure needs work change the ISO, f-stop or flash power to make a proper exposure. Also a quick note about f-stop, if you are shooting in bright ambient light you will need to stop down much more than the f/16 used for the above shot. Your aperture and ISO setting need to be enough to prevent exposure from ambient light. If not the ambient light can cause ghosting in your final image. It is also necessary to block light from coming into the viewfinder when using the insect rig in bright light. Since I was in the woods for this shot f/16 was appropriate.

Insect Rig Placement
Not a lot to this step... set the rig so the cross beam was over the nest and stand back. If you look closely at the image on the left you can see the wasps coming out of the hole in the ground. I also needed to fine tune the angle of the insect rig to get the best background - you can see the logs I placed under the backside of the rig to angle it down some.
The Background
As can be seen from the images below the flash placement has an enormous affect on how the background appears. The description next to each image describes how the effect in the image was created.
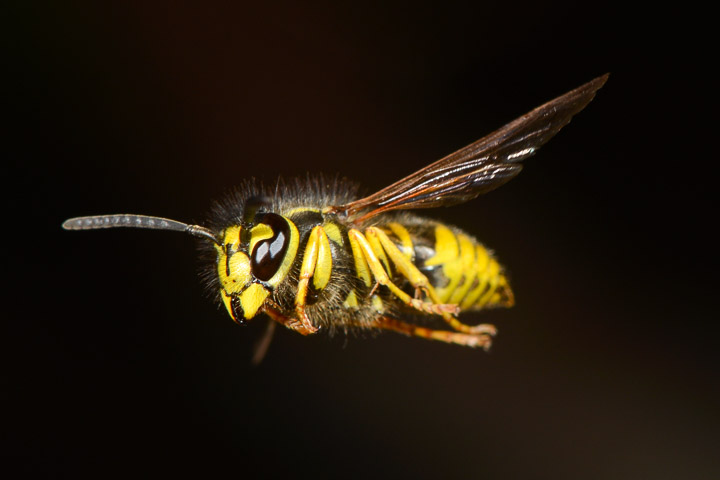
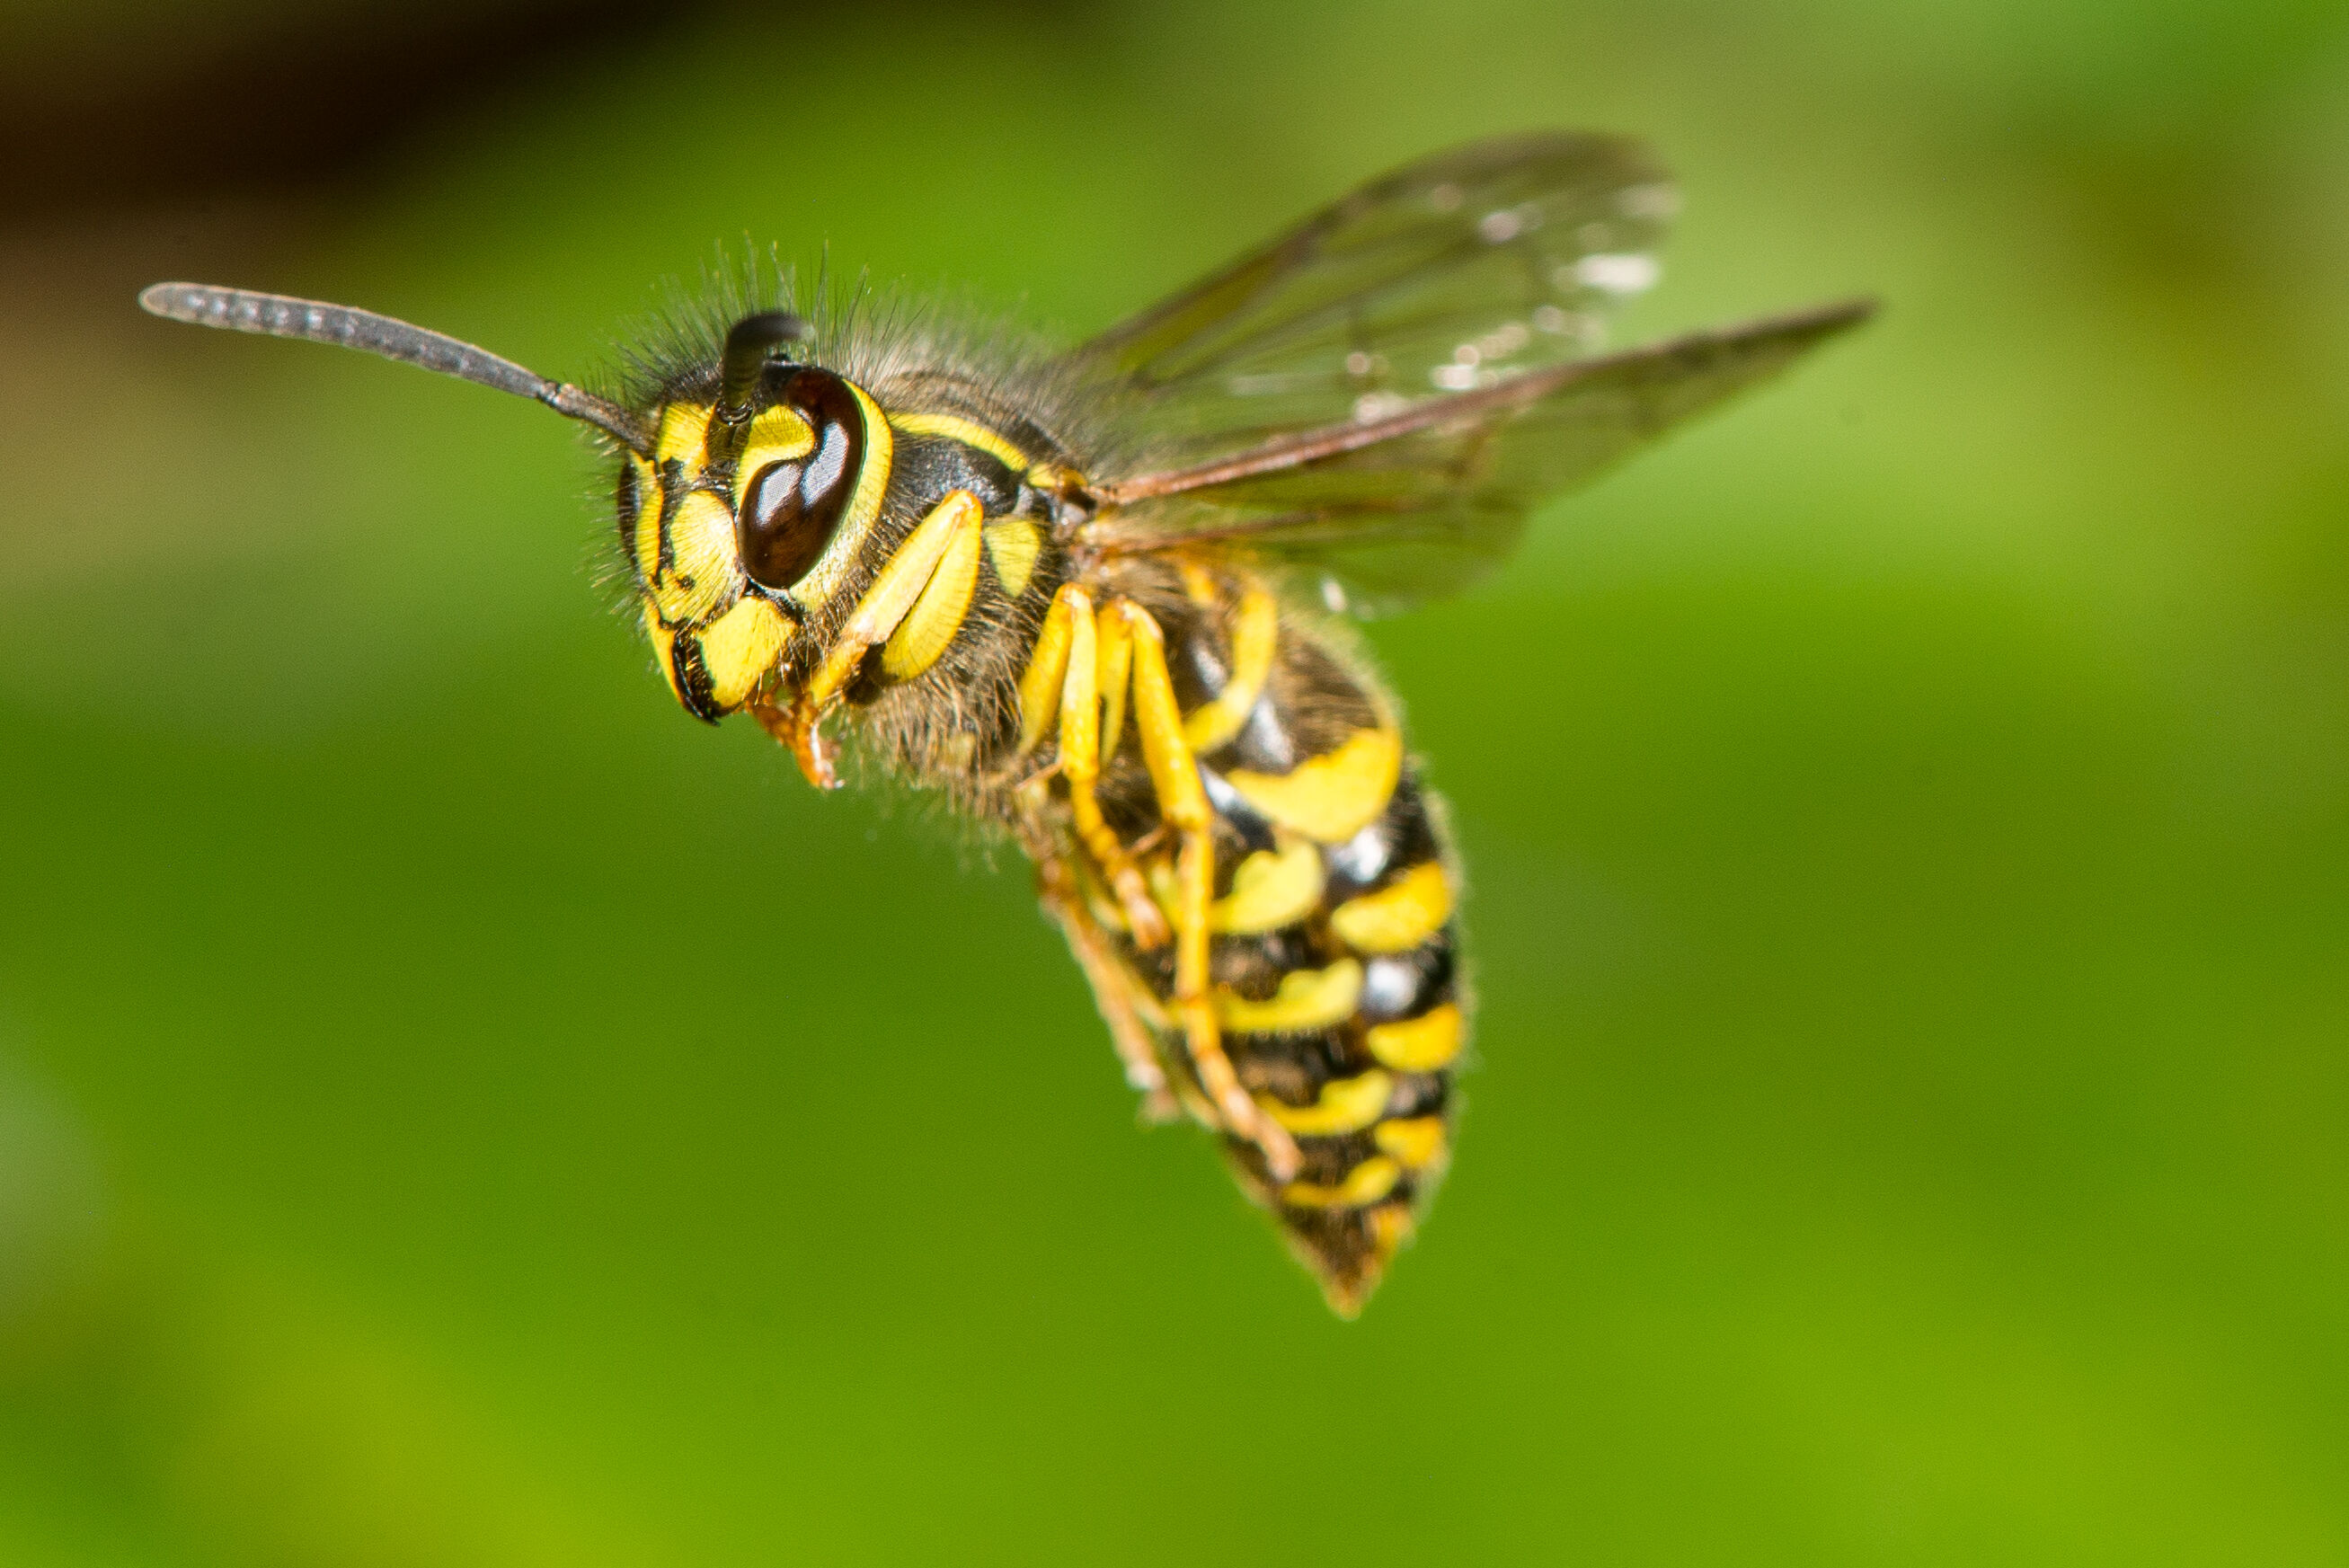
Dark Background
This image shows what the captures look like with my normal flash placement on the insect rig - both flashes are pointed down towards the cross beam intersection. The black (or very dark background) is caused by very little of the light from the flashes reaching the background. Keep in mind everything that you want illuminated in your image needs to be illuminated with flash when using traditional high speed methods or it will be dark in the final image. Normally I add a third flash to the setup to bring some extra light to the background but in this case everything was close enough I could simply re-aim one of the flashes upwards to put more light on the background. I also increased the power output of this flash slightly.
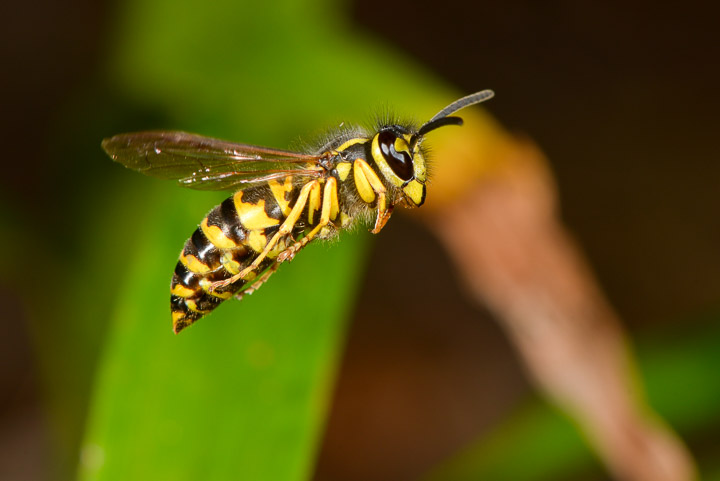
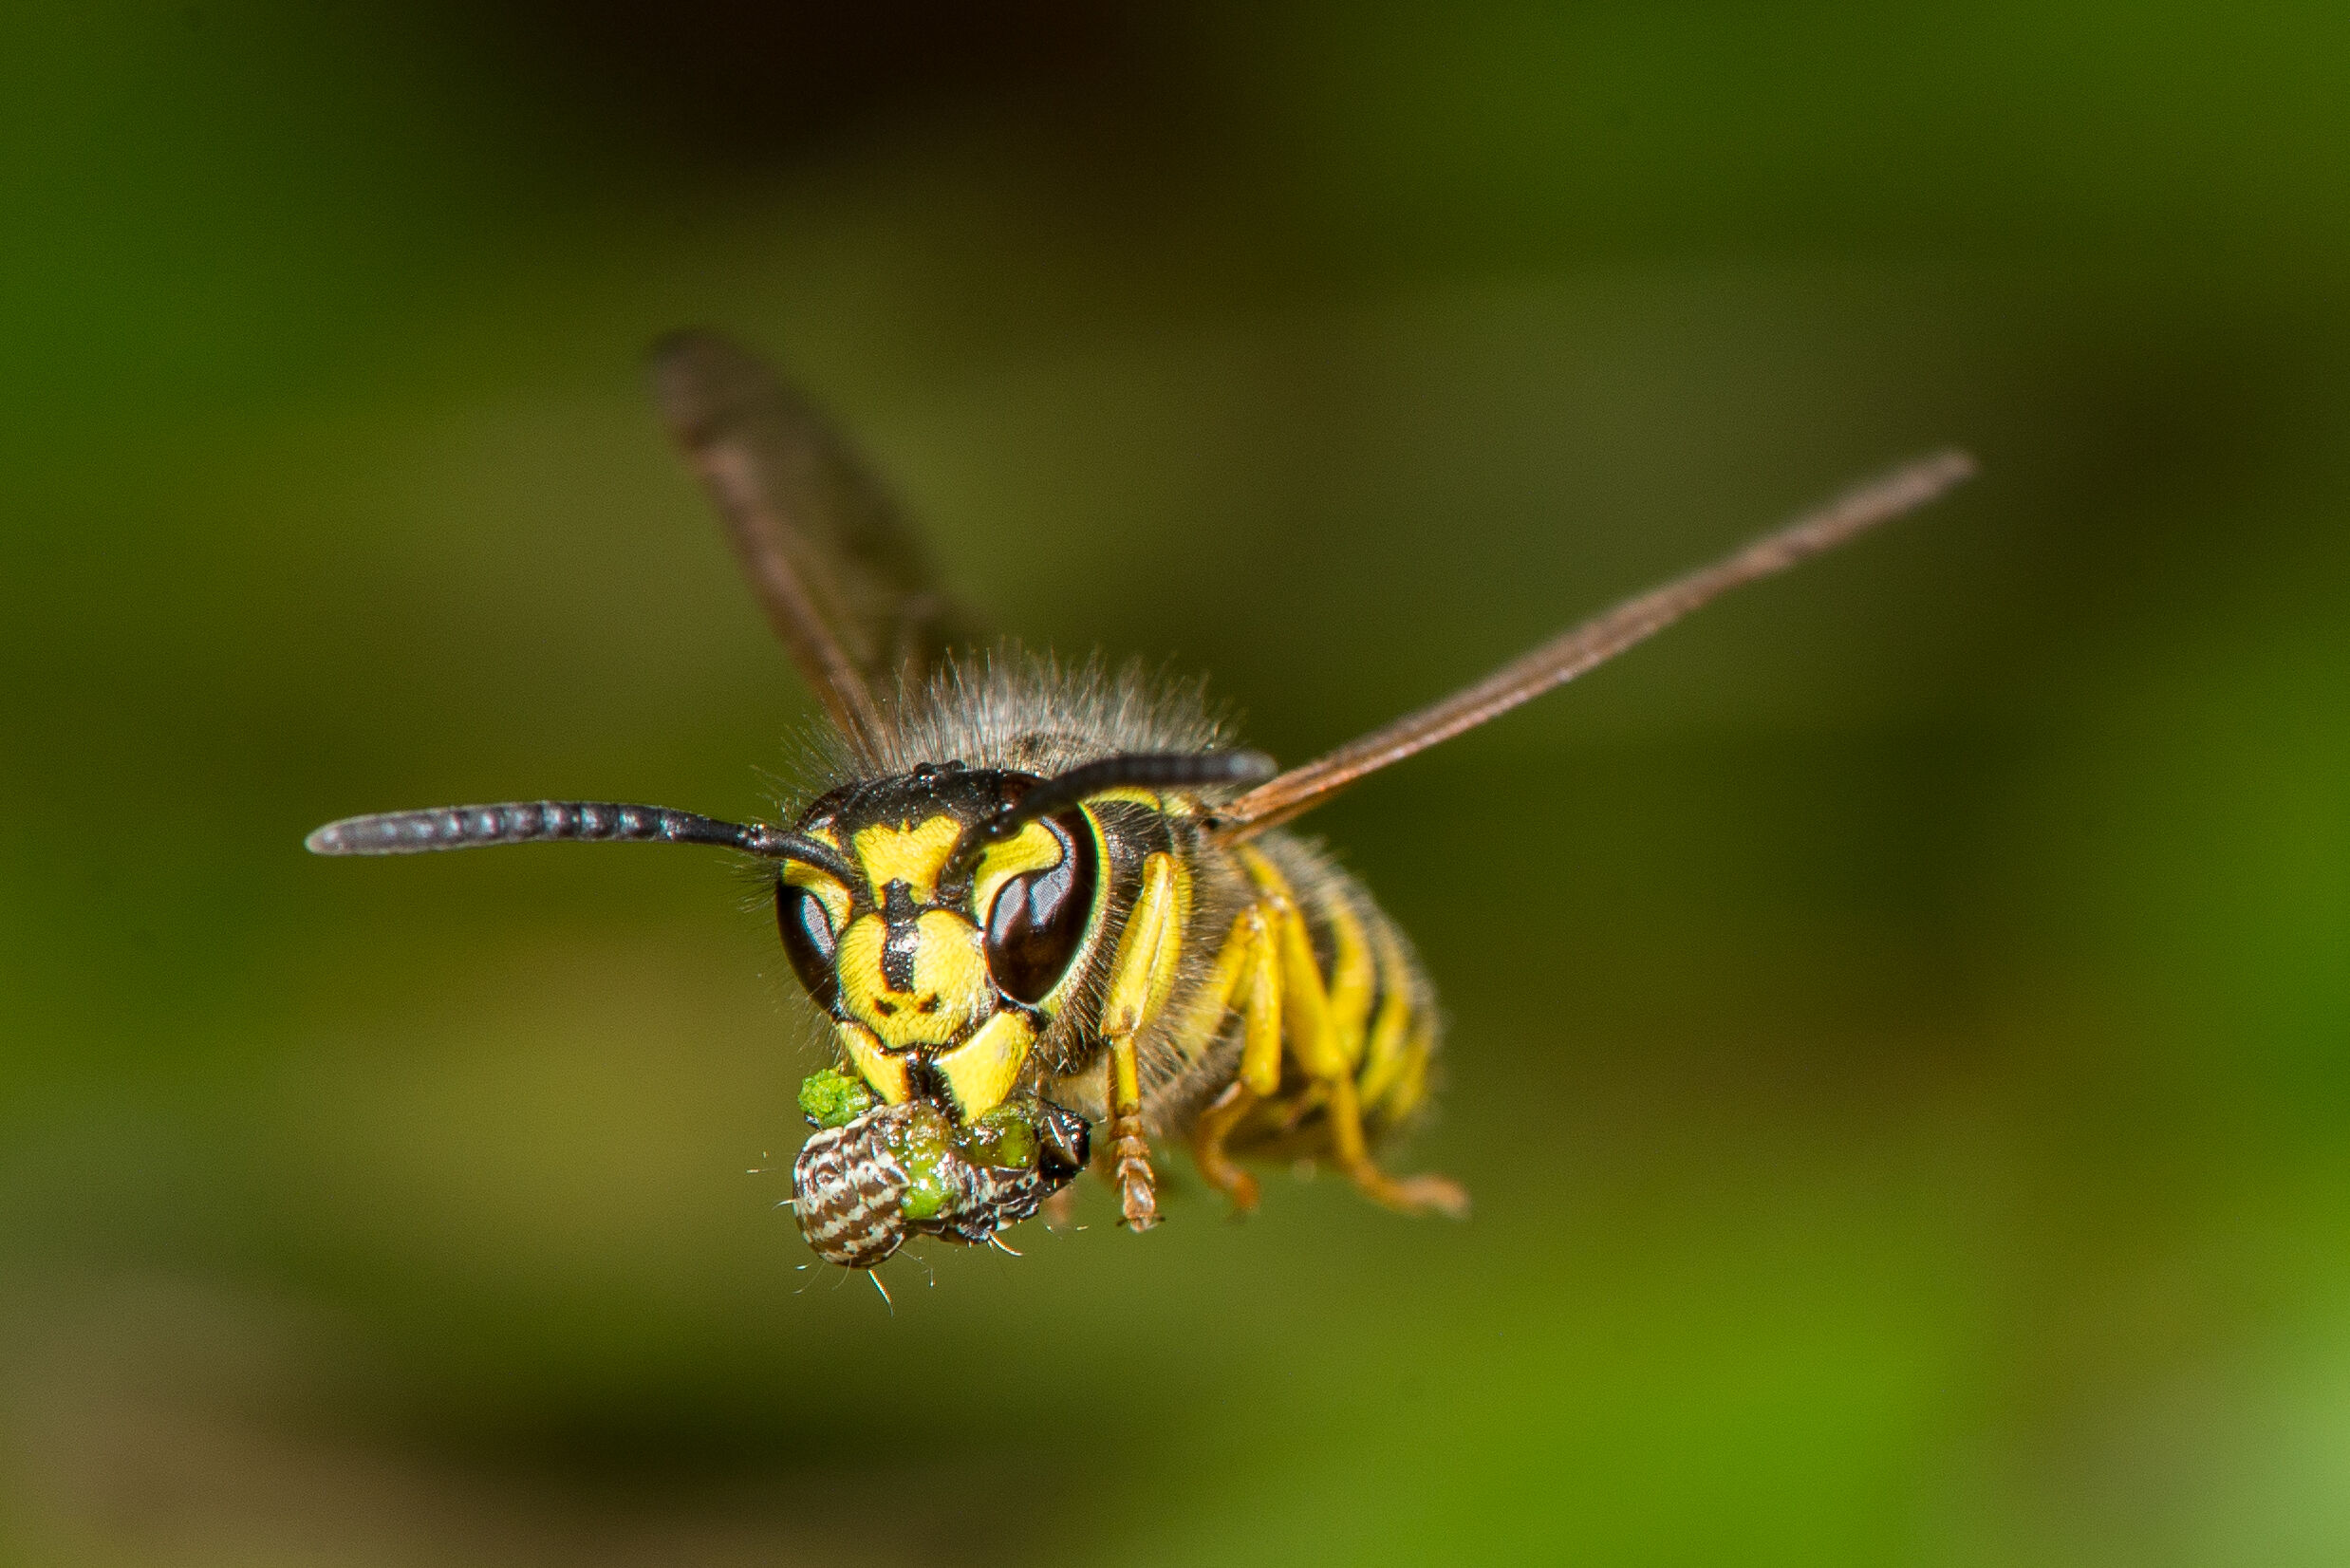
Defined Background
This is the result after tilting the larger of the two flashes down and putting the logs under the back of the insect rig. You can see the background now has vegetation showing up that is pretty well defined. In this image the background foliage was quite close to the foreground subject.

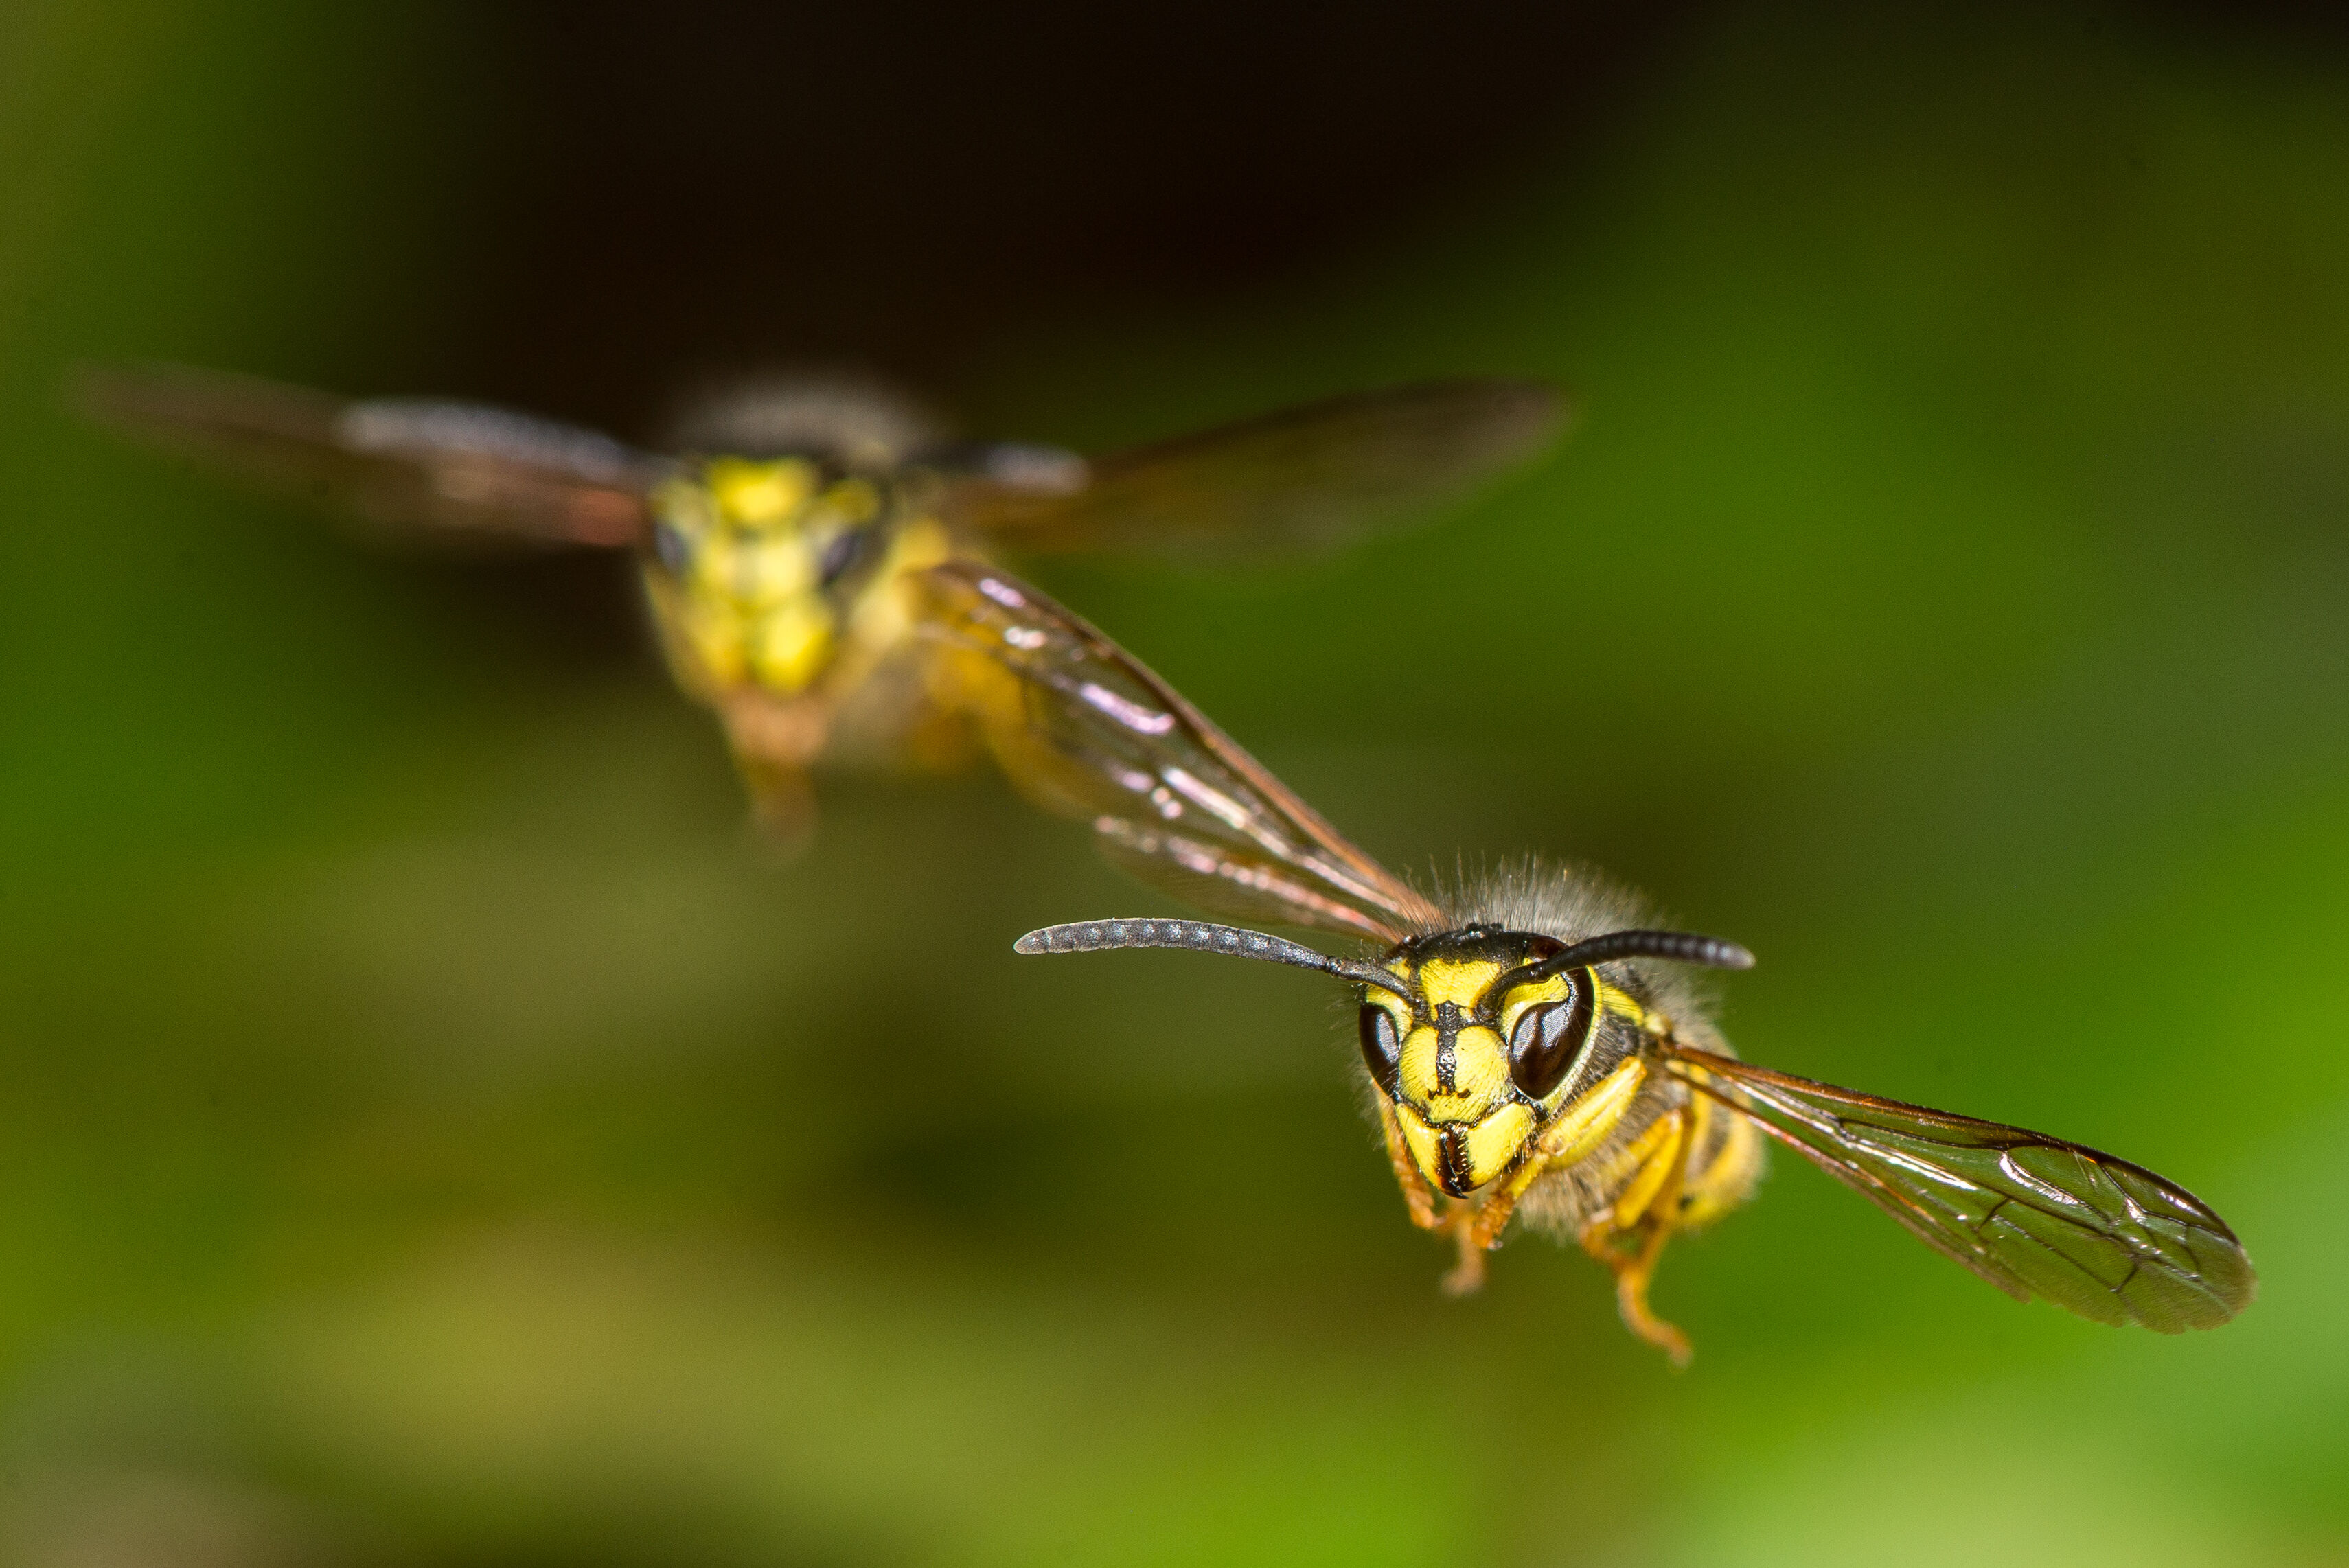
Blurred Background
For this image I pushed over the plant with the brown branch that was hanging over the nest... yep this is when I got stung! I then added a bit more vegetation a bit further back so it completely covered the frame. I tried to use enough leaves to not allow gaps in the green color of the background. From this point it is all artistic preference. The image at the top of this page was taken with this setup as well.
More Images from this Setup


 Out of Stock