Configure StopShot for use with the High Speed Shutter
Configuring StopShot for use with the High Speed Shutter
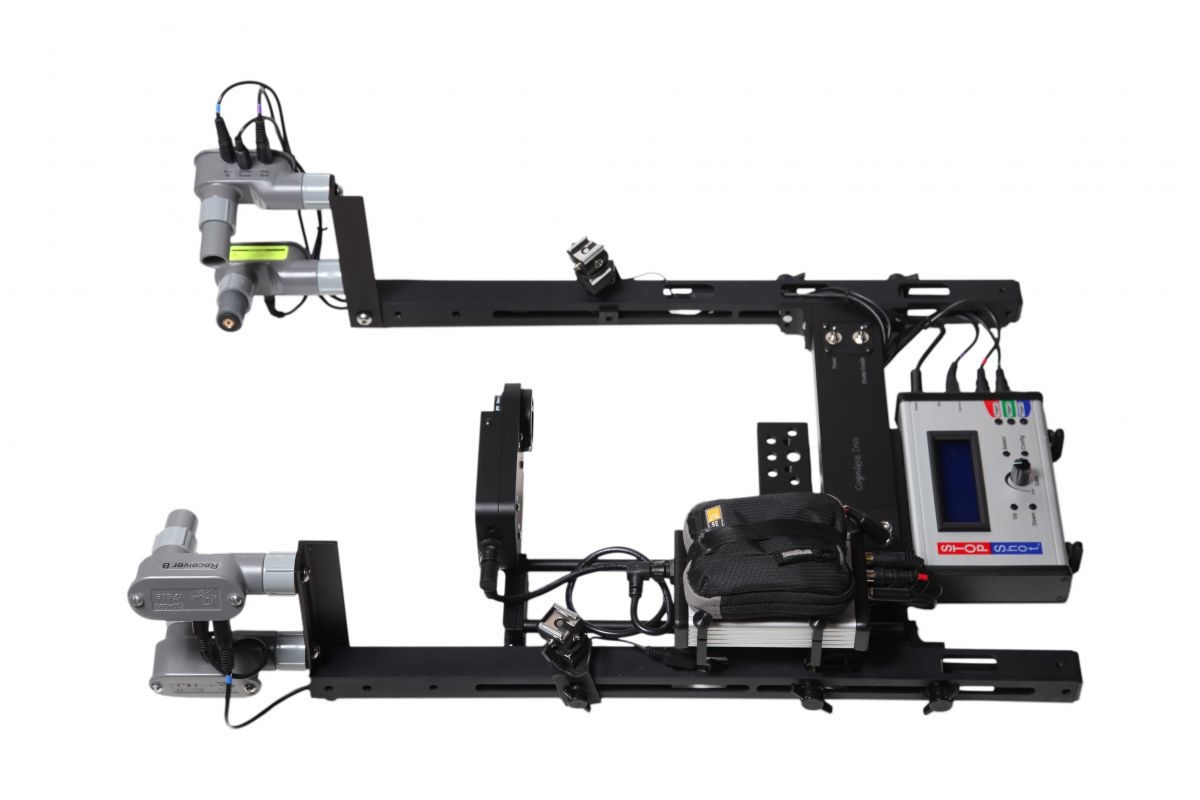
StopShot needs to be able coordinate the sensors, high speed shutter, and camera shutter to make a successful high speed image. The shutter has a flash sync so it will not be necessary to have StopShot control the flash. It is possible to use StopShot to coordinate the flash to multiple exposures in one frame but first let's cover the basics. These settings are for StopShot 1.1.08. Other firmware versions may have the settings in slightly different locations.
Step 1 - Global Configuration
Three parameters need to be changed in the Global Configuration menu (Press and hold CONFIG button for about 2 seconds to get into the Global Config manu.) They are the timing mode, the power off channel , and the sequential time-out.
TMode:Sequential - Sequential Mode configures StopShot so that it must finish the actions for Trigger 1 before it moves to looking at Trigger 2, or said another way, StopShot must finish one step before moving onto the next. In this case we want the camera shutter to be open before we fire the high speed shutter to expose the image. To get StopShot into Sequential Mode, press and hold the CONFIG button for about 2 seconds. The display will read Global Config at the top. Press the UP button to change the TMode from "Independent" to "Sequential". When this step is complete your display should look like this:
| == Global Config == | |
|
>
|
TMode:Sequential |
|
|
Load/Save Config |
|
|
Load Defaults: |
Pwr Off - Next we have to set up power off. This is the function that will turn off the lasers before the shutter is opened to prevent red laser light from appearing in your photographs. If you are using the RangeIR or any of the IR beam sensors you can skip this step. To get to the "Pwr Off" parameter press the select button 4 times so the cursor is pointing to "Pwr Off". Change this from "Off" to "Trig2". Trigger 2 will be configured to fire the external shutter once the laser cross beams have detected your subject. When complete your display will look like this:
| == Global Config == | |
|
|
LCD Backlight: 10 |
|
>
|
Pwr Off: Trig 2 |
|
|
Pwr Toff: 250.0 ms |
SEQ Tout - Sequential Mode Time-out - This is the feature that allows you to refresh the camera frame to prevent digital noise from building up while you are waiting for your subject. Set this parameter to the amount of time you want to elapse before the frame is refreshed. I generally use around 1 minute or so. Using the SELECT button scroll down until your cursor (>) points to "SEQ Tout" and change it from off to 1 minute. Your display will look like this:
| == Global Config == | |
|
>
|
SEQ Tout: 1min 0sec |
|
|
|
|
|
|
|
== StopShot==
SEQ
|
||
|
>
|
Trigger 1: | off |
|
|
Delay 2: | off |
|
|
Delay 3: | off |
Step 2 - Trigger 1 - The Camera
The camera will be connected to Trigger 1 via a shutter interface cable. The camera will be in bulb mode and the shutter timing controlled by StopShot. To configure Trigger 1 make certain the cursor (>) is pointing to Trigger 1 as shown above right and press the CONFIG button. Change the "T1 Mode" to Delay by pressing the UP button once. Then change the Pulse 1 time from the default 500mS to Latched. The Latched setting is one step below 100uS. With the cursor pointing to "Pulse 1" hold down the DOWN button until Latched is displayed as shown below.
|
>
|
T1 Mode:
|
Delay |
|
|
# Pulse: | 1 |
|
|
Pulse 1: | Latched |
|
|
Toff 1: | 100.0 ms |
|
== StopShot==
SEQ
|
||
|
>
|
Delay 1: | off |
|
|
Delay 2: | off |
|
|
Delay 3: | off |
Next we need to adjust the delay for Trigger 1. Do this by pressing the UP button until the delay parameter for Trigger 1 shows 500mS. The 500mS we just programmed in is the amount of time StopShot will release the shutter on the camera in between shots or when StopShot refreshes the frame. This time should be as short as possible while still allowing the camera to respond reliably - I find 500mS to be a good number for Canon. After the adjustment the display will appear as shown below.
|
== StopShot==
SEQ
|
||
|
>
|
Delay 1: | 500mS |
|
|
Delay 2: | off |
|
|
Delay 3: | off |
Step 3 - Trigger 2 - The Shutter
Next we need to configure Trigger 2, the channel that will control the external shutter. First we need to set up Trigger 2 to respond to the cross beam sensors. To do this press the select button to move the cursor down to Trigger 2 and press the CONFIG button, using the same process as above change the T2 mode to X-Beam A&B. This tells StopShot to only fire the external shutter if the A and B beams have been crossed. Next we need to change the Pulse 1 timing so the shutter opens and closes as fast as possible. The shutter is capable of staying open for as long as you need. This can be very useful for multiple exposures of your subject in the same frame. If the Pulse1 parameter is set to 5mS or less the shutter will open and close as fast as possible. If the Pulse 1 parameter is set to a number greater than 5mS the shutter will remain open for the duration of Pulse 1. For example if you have Pulse 1: 500mS the shutter will stay open for a half of a second. I generally use 1mS for Pulse 1 when the shutter needs to open and close as quickly as possible. Using the same procedure noted above set Pulse 1 to 1mS as shown below.
|
>
|
T2 Mode:
|
XBS A&B |
|
|
# Pulse: | 1 |
|
|
Pulse 1: | 1 mS |
|
|
Toff 1: | 100.0 ms |
|
== StopShot==
SEQ
|
||
|
>
|
Delay 1: | 500 mS |
|
|
XBS A&B 2: | off |
|
|
Delay 3: | off |
The last step is to enable Trigger 2. This is done by pressing the UP button, while the cursor is pointing to Trigger 2. This will set the delay for Trigger 2 to 50uS. 50uS is as fast as StopShot can respond, as soon as the cross beam sensor is crossed the shutter will be fired. The final display should look as shown below.
|
== StopShot==
SEQ
|
||
|
|
Delay 1: | 500 mS |
|
>
|
XBS A&B 2: | 50 uS |
|
|
Delay 3: | off |
Trigger 3 is not used for this configuration.
Congratulations - you're finished and ready to go out and capture some insects in flight!
 Out of Stock
