Water Drops - Connecting Two Valves to StopShot
Water Drops - Connecting Two Valves
Connecting multiple valves to StopShot allows you to get collisions with different color drops. It makes for some very cool effects. I actually found this technique much easier than getting three drops to collide with one water valve. It is a bit tricky to get everything aligned but the timing is much more forgiving. Because you are using two Water Valves you are not limited by how fast one valve can dispense two water drops. You have complete control over each drop.
The Setup
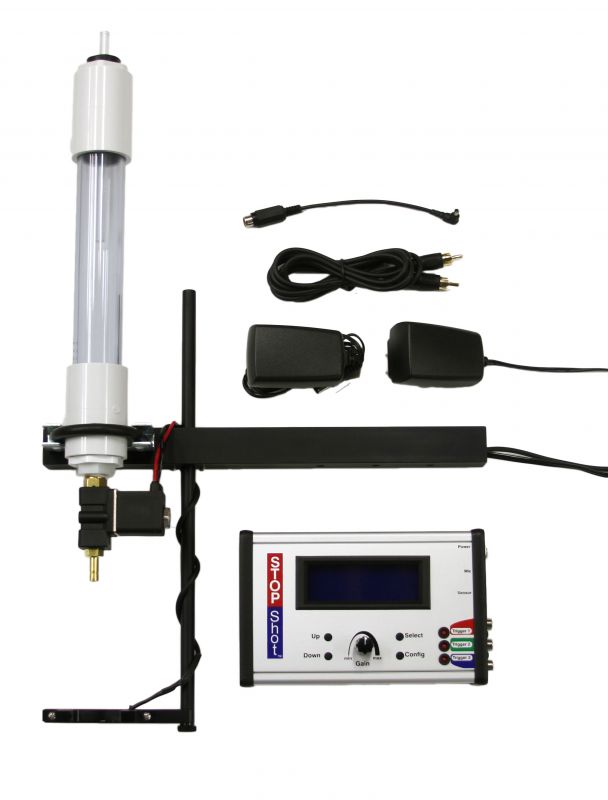
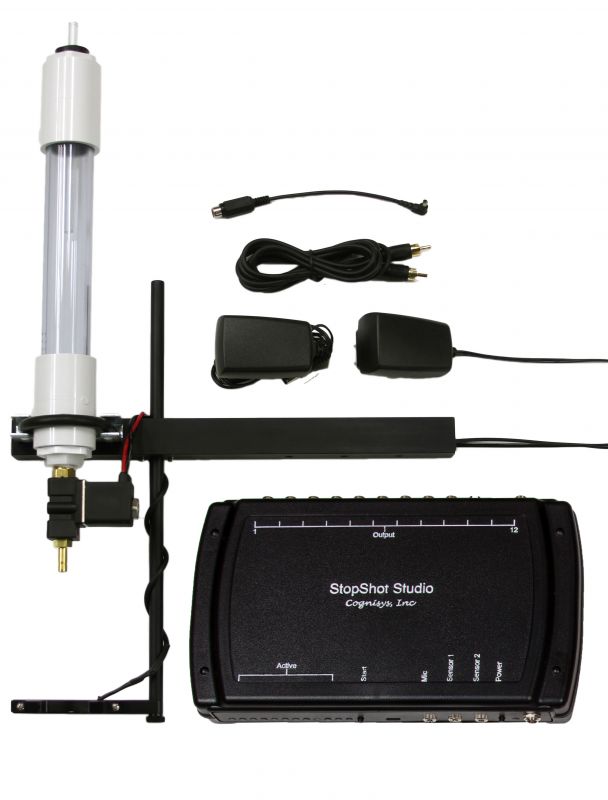
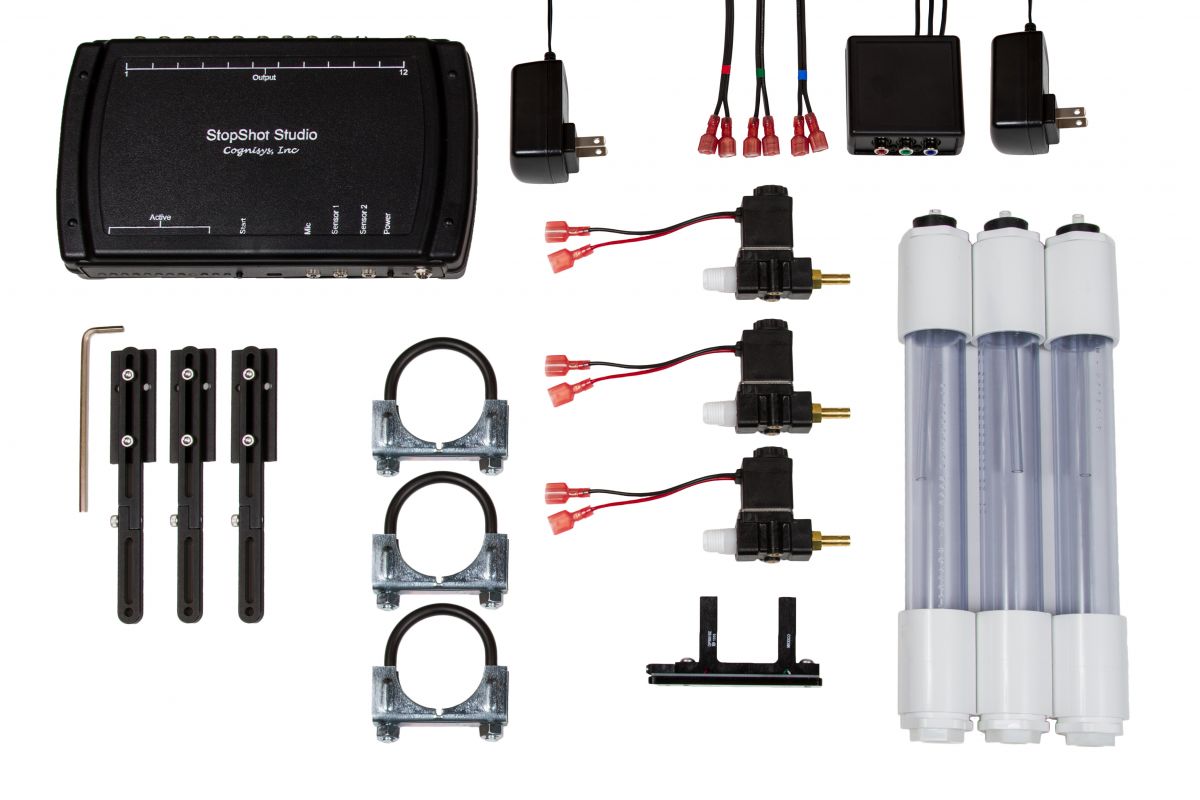
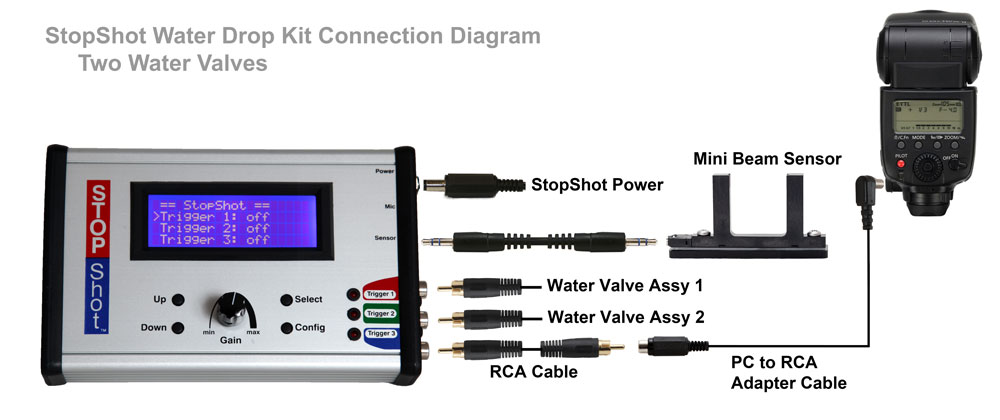
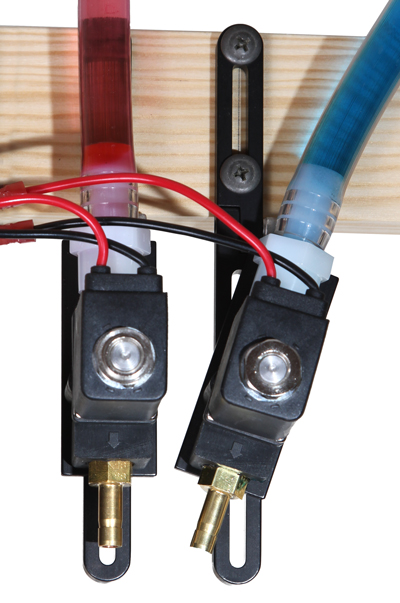
For this technique you will need a StopShot Water Drop Photography Kit, an extra Water Valve Assembly and Mariotte Siphon. It is also a much easier setup if you remote mount the Siphons from the water valve, for this I used two of the Siphon Extension Kits. For the photograph below the water valve assembly with Blue water was connected to Trigger 1, the water valve assembly with Red water was connected to Trigger 2, and the flashes were connected to Trigger 3. The camera was in bulb mode with the aperture set to f/20. In this particular shot I used two Yongnuo YN-560 flashes in manual mode with the power turned down. The flashes were wired in parallel using an RCA Y Cable and two RCA to PC Adapters.
Blue-Blue-Red
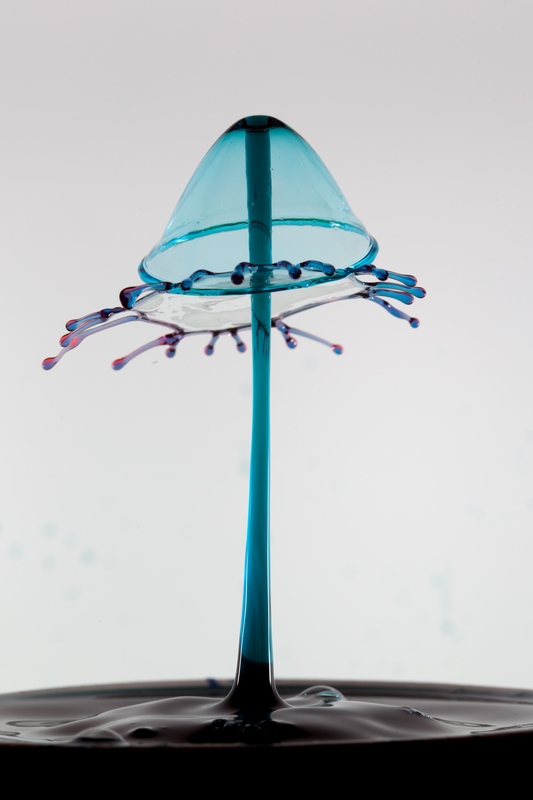
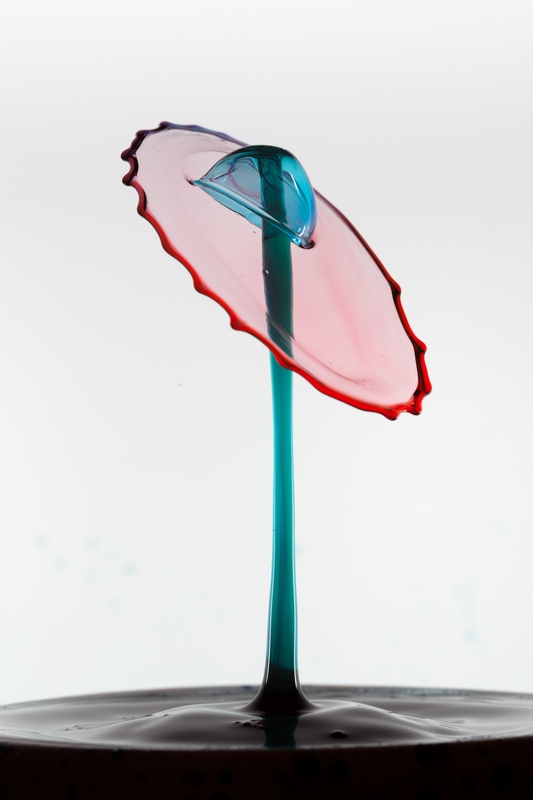
In this first setup the first valve (blue) dispensed 2 drops and then the second valve dispensed a red drop, this gives the pattern Blue-Blue-Red. The second blue drop collided with the rebound of the first blue drop creating the umbrella shape, the red drop then collided with the two blue drops. In the next setup we will cover how to get the drops get dispensed Blue Red Blue. Any combination is possible.
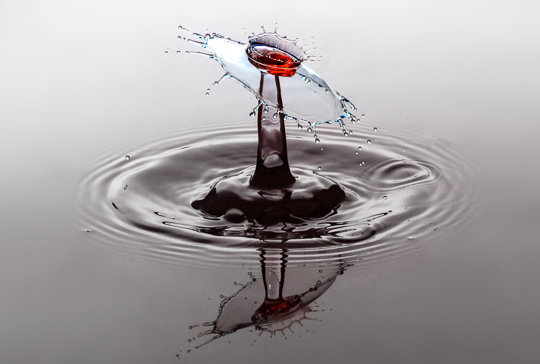
The trick for these shots is the alignment of the valves. As you can see from the picture on the left the red valve is tilted towards the blue valve. The idea here is to get the red drop to directly land on top of the blue drop. Getting them aligned is not too difficult as long as you make certain the dispensed water drops have not hit the surface of the water when you capture the image. Once they hit the water it is very difficult to tell what drop landed where. When I did the alignment, I set up StopShot to dispense one blue drop and one red drop. I set the delay between the drops so there was a good rebound column of water created by the blue drop. Once I had this I kept tilting the red valve further over until it directly landed on the column of water. Even having only two drops that were different colors made some pretty cool effects. The possibilities are absolutely endless.
The final StopShot settings for the three drop collision of blue-blue-red can be found below.
StopShot Settings
The main screen settings
|
== StopShot==
SEQ
|
||
|
>
|
Manual 1: | Waiting |
|
|
Delay 2: | 175.0 ms |
|
|
Trigger 3: | 300 ms |
Trigger 1 Settings (page 1):
|
>
|
T1 Mode:
|
Manual |
|
|
# Pulse: | 2 |
|
|
Pulse 1: | 13.0 ms |
|
|
Toff 1: | 160.0 ms |
Trigger 1 Settings (page 2):
|
>
|
Pulse 2:
|
13.0 ms |
|
|
Toff 2: | Same |
|
|
Pulse 3+: | Same |
|
|
Toff 3+: | Same |
Settings Details
Manual 1: Waiting - This mode causes StopShot to wait for your button press (UP or DOWN) before anything happens. Trigger 1 is in manual mode and is waiting for a button press to start pulsing the valve creating the drops. Once it gets the button press it will start opening and closing the valve according to your setup. In this case the valve will generate two drops that are 160mS apart. Also because we turned on Sync for trigger 2 the timer starts for trigger 2 at the same time.
Delay 2: 175 ms - This is the trigger that controls the red channel. The 175mS tells StopShot to activate the red valve 175mS after the button is pressed to release the blue drop.
Trigger 3: 300 ms - After all of the water drops have been released StopShot will wait for a trigger event. A trigger event occurs when the water drop is detected passing through the sensor. After the drop has been detected StopShot will wait the 300mS you set and then turn on the output. This will cause the flashes to fire exactly 300mS after the water drop passes through the sensor. All of the other settings for this trigger are left at their default values.
You get to the next group of settings by making sure the cursor (">" ) is pointing to the trigger 1 and then press the CONFIG button.
T1 Mode: Manual - This sets up trigger 1 in manual mode.
#Pulse:2 - This tells StopShot to create 2 pulses or 2 drops. Each pulse will generate 1 drop.
Pulse1: 16ms - This is the valve open time for the first blue drop.
Toff1:100ms - 100ms is the amount of time between the first and second drop.
Pulse2: 13ms- This setting opens the valve for 13mS to create the second blue drop.
Toff2: Same - This is the default setting
Pulse3: Same - This is the default setting
Trigger 2: The trigger 2 settings are all default except the pulse time and sync setting. The pulse time is set to 15mS to create a single drop and Sync is set to yes, Setting Sync to yes synchronizes trigger 2 with trigger 1. This makes the delay for trigger 2 start at the same time as the button press for used to start trigger 1. With Sync set to no, this pulse would not start until the pulses for trigger 1 were complete. Turning on the sync function allows you to move the drop around in time without affecting your flash delay.
Physical Dimensions
The settings only tell half of the story though -- the other piece is the physical setup. Here are the dimensions for this setup:
Water depth - 3/4in
Distance between valve tip and sensor - 6" (if you want a longer Toff you may have to lower the sensor)
Valve Height - 25in from the tip of the nozzle to the table top (not the water surface)
Even if your setup uses the same dimensions as above you may not get the same results. There are lot of different variables that can affect the timing. Temperature is one and water chemistry is another and probably the most significant.
Switching it up - Blue-Red-Blue
To swap the colors of the last two drop dispensed it is simply a matter of changing the timing so the red drop is released before the second drop. This is done by changing two numbers. The first is the delay for trigger 2 and the second is the Toff for trigger 1. The Toff for trigger 1 controls the amount of time StopShot waits between the two blue drops.
Changing the order of the drops makes for some very different effects. Here are a couple of examples.
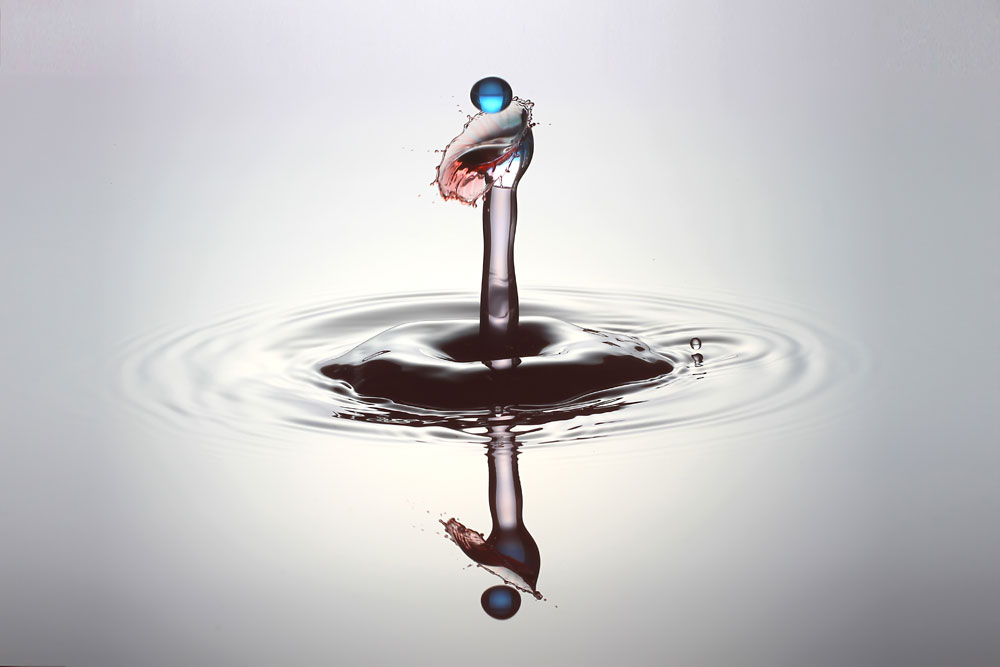
You can get some neat mixing effects of the drops when using this order. The drops for the picture on the right actually met in the air and blended some before they collided with rebound of the first drop.